Trails in New Zealand
519 hiking trails, each with its route, climb, walking time and grade.
Near a town
All trails, page 1 of 11
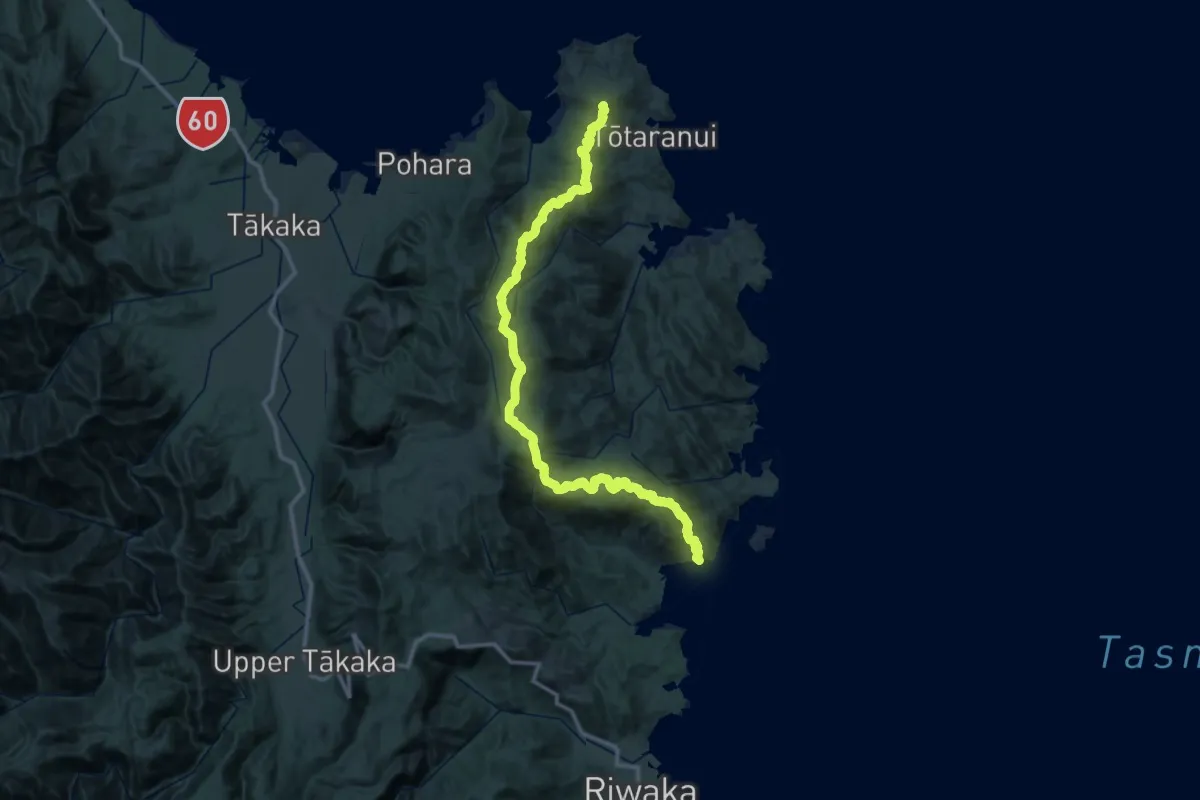
Demanding · Summit
Abel Tasman Inland Track
66.7 km · ↑ 3566 m · 23 h 29 min
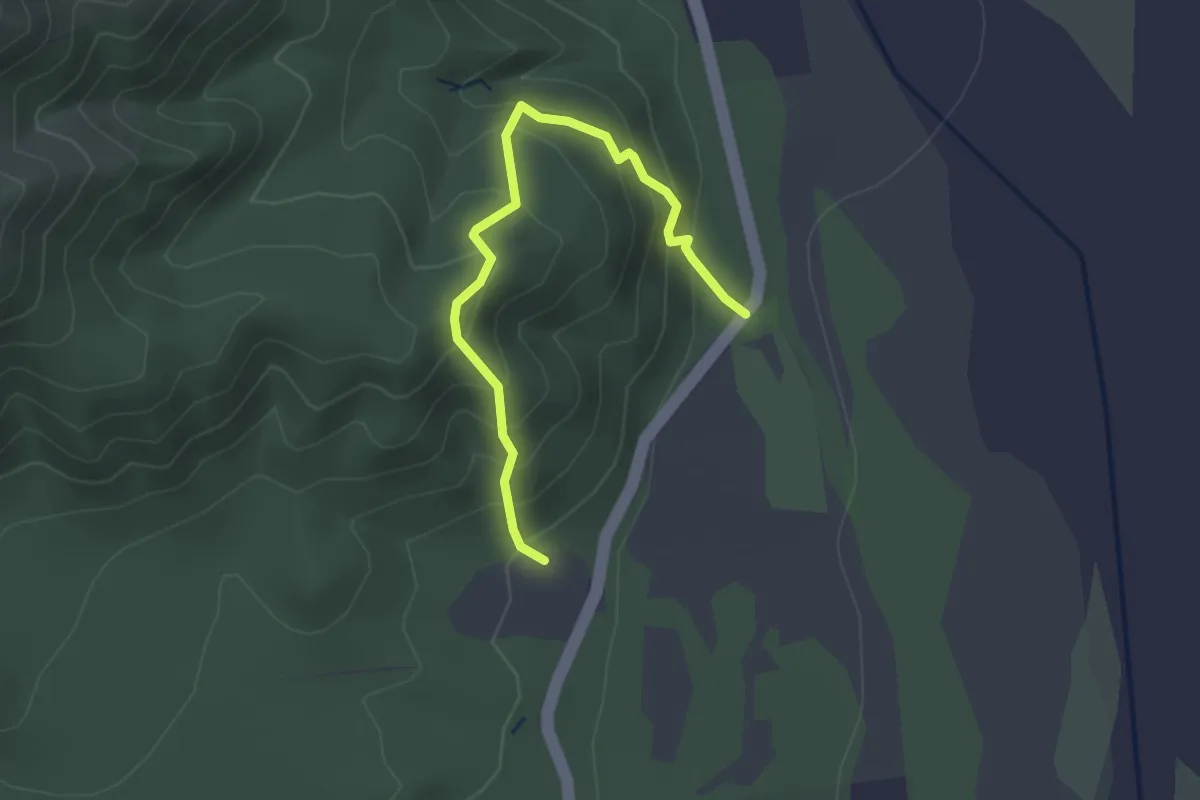
Easy · Trail
Acland Falls Track
2.9 km · ↑ 267 m · 1 h 16 min
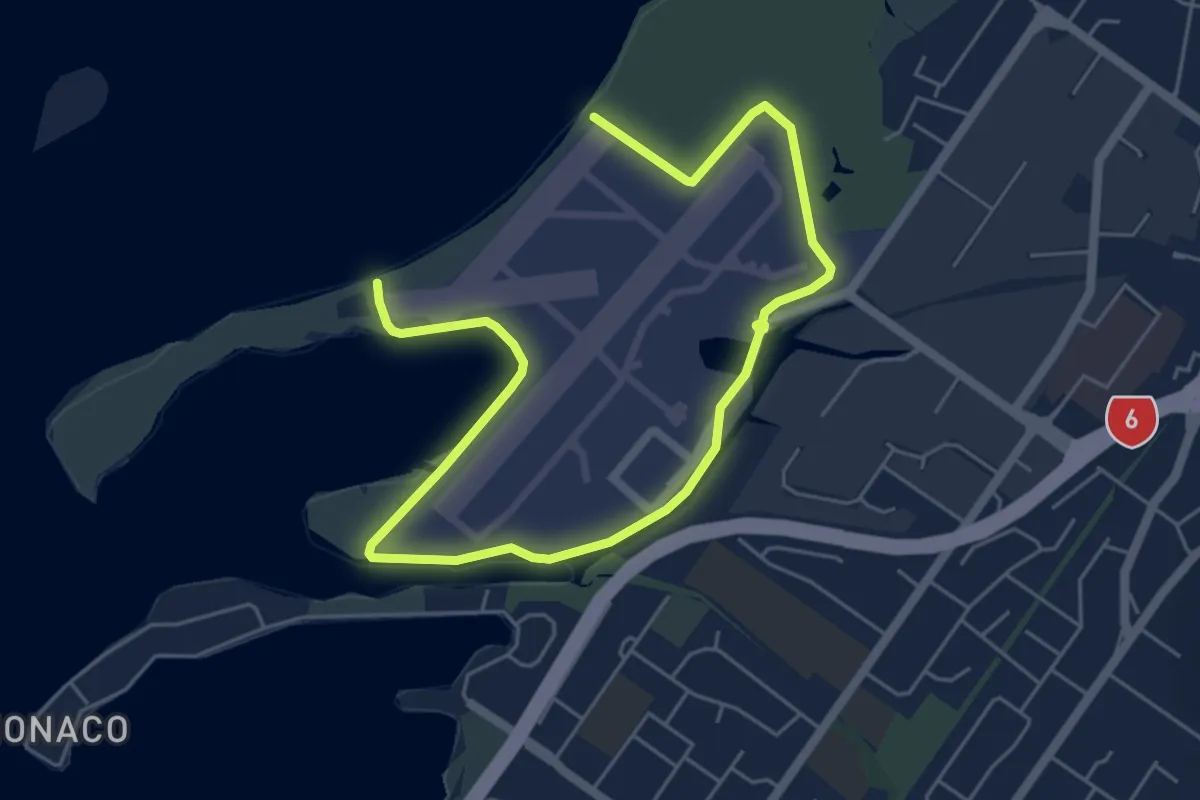
Easy · Trail
Airport Perimeter Walkway
4.2 km · ↑ 14 m · 1 h 5 min
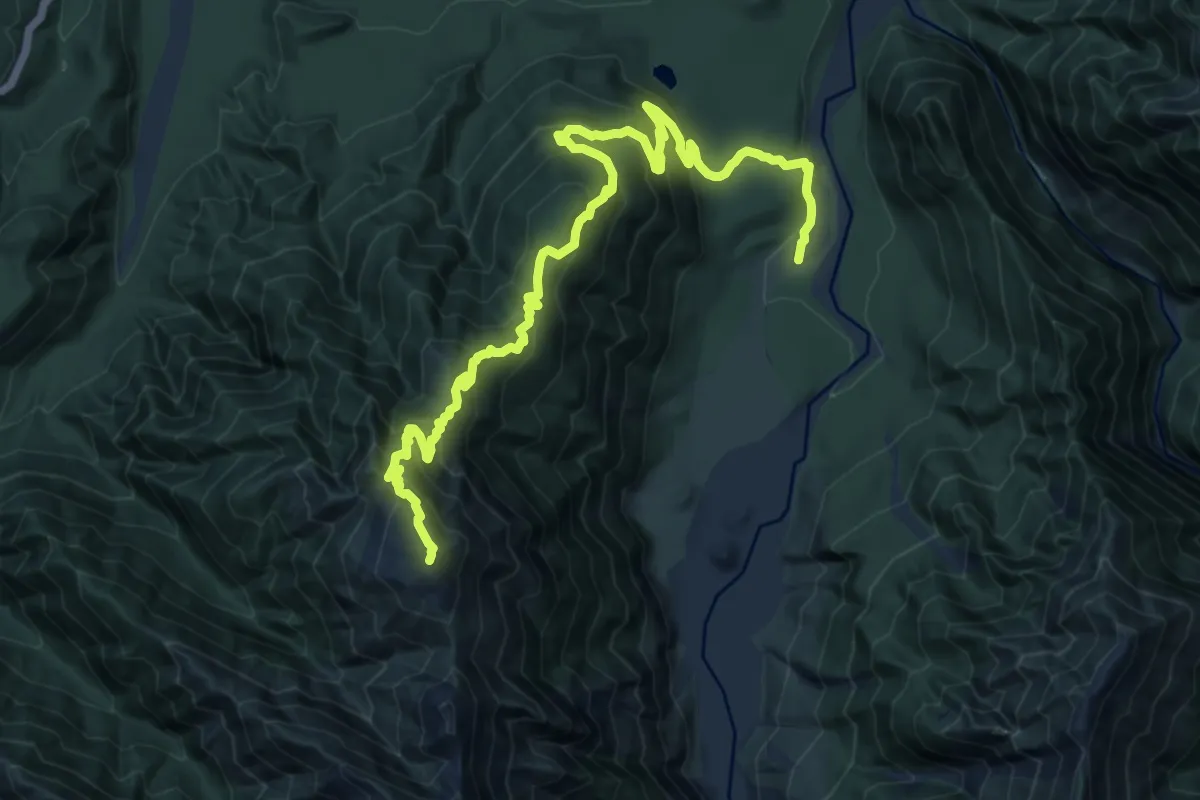
Demanding · Summit
Alex Knob
15.1 km · ↑ 1145 m · 6 h 3 min
Medium · Trail
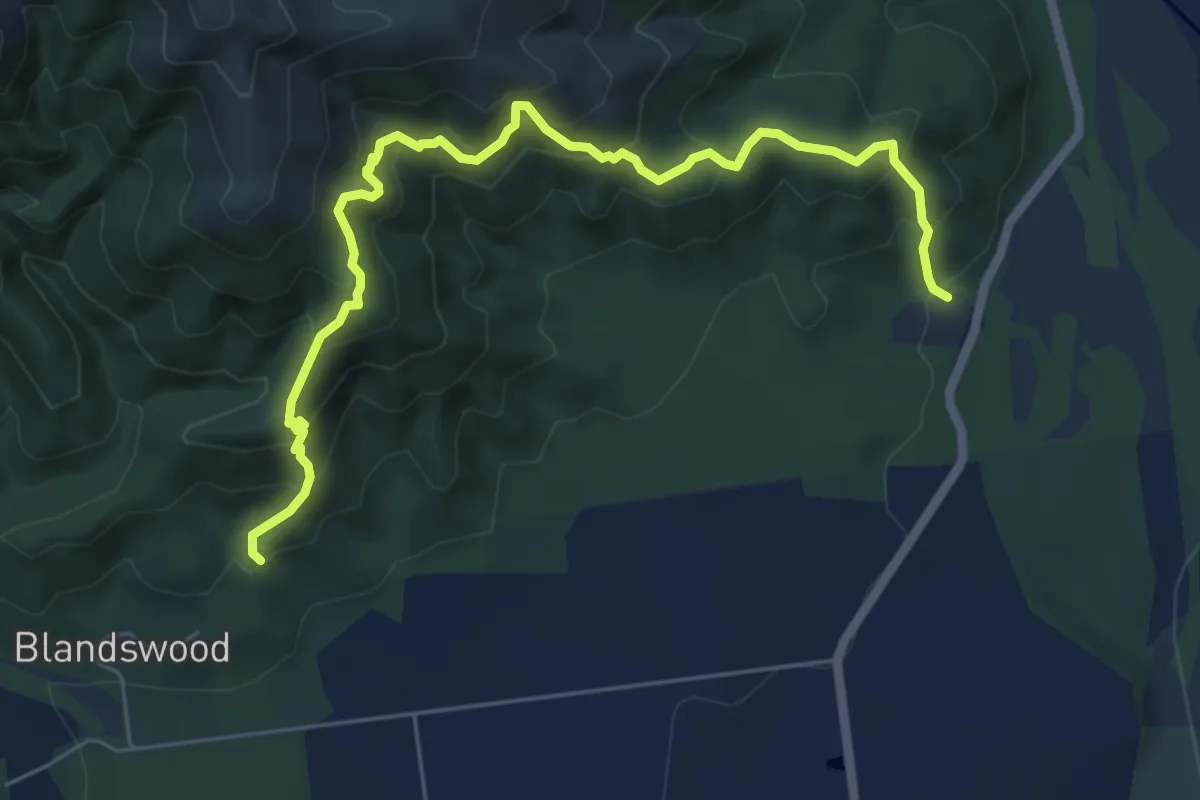
Allans Track
7.3 km · ↑ 643 m · 3 h 8 min
Easy · Trail
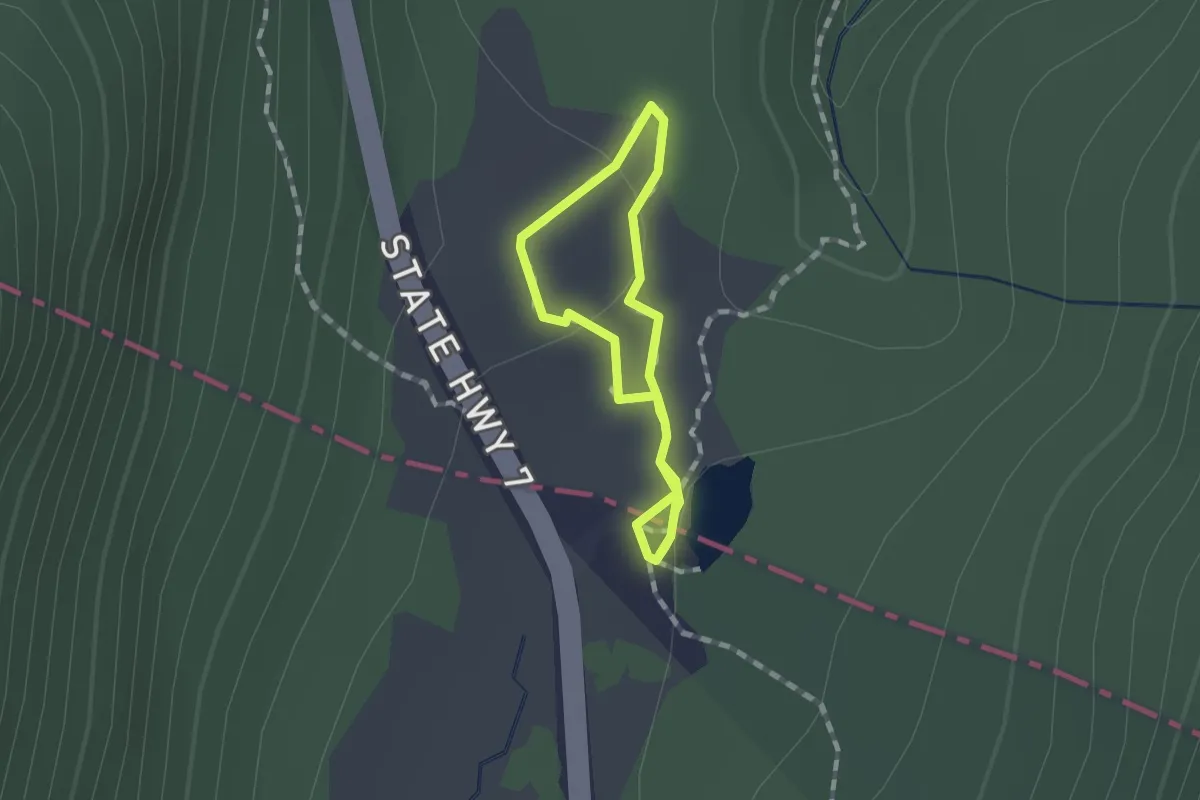
Alpine Nature Walk
1.1 km · ↑ 20 m · 19 min
Demanding · Trail
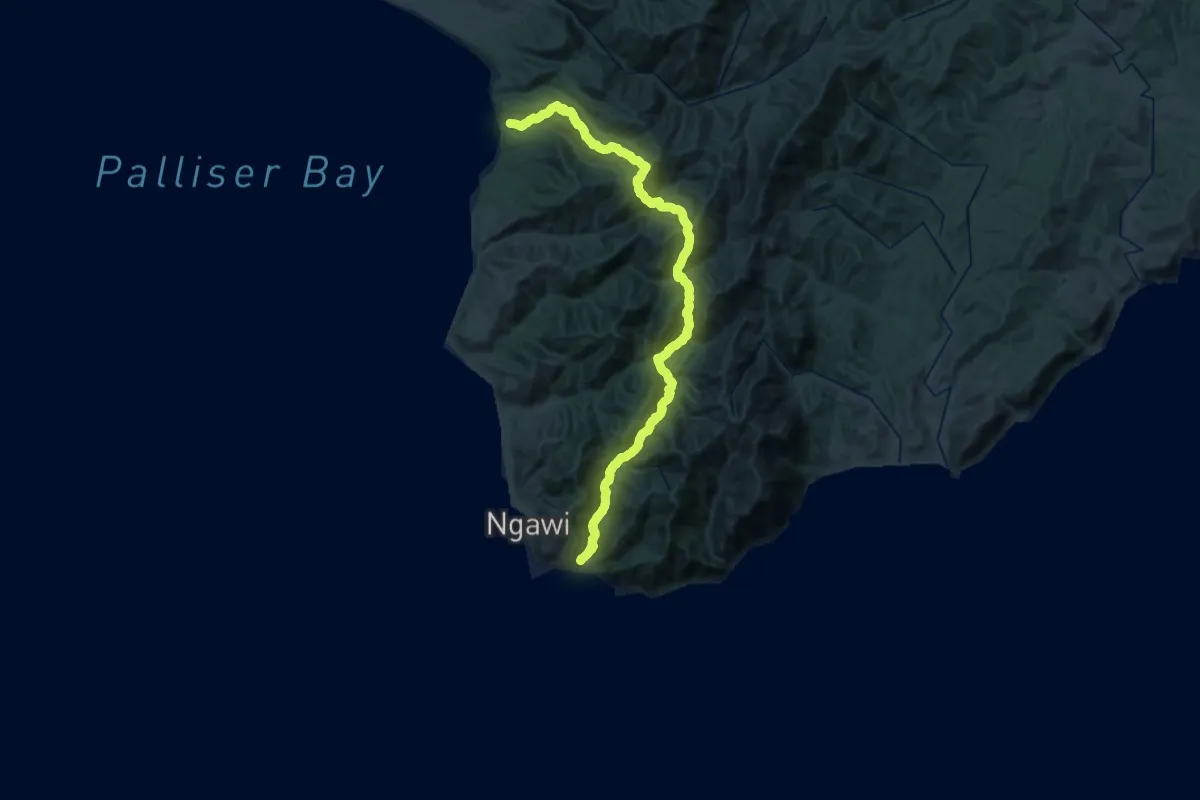
Aorangi Crossing
26.9 km · ↑ 1965 m · 10 h 59 min
Demanding · Summit
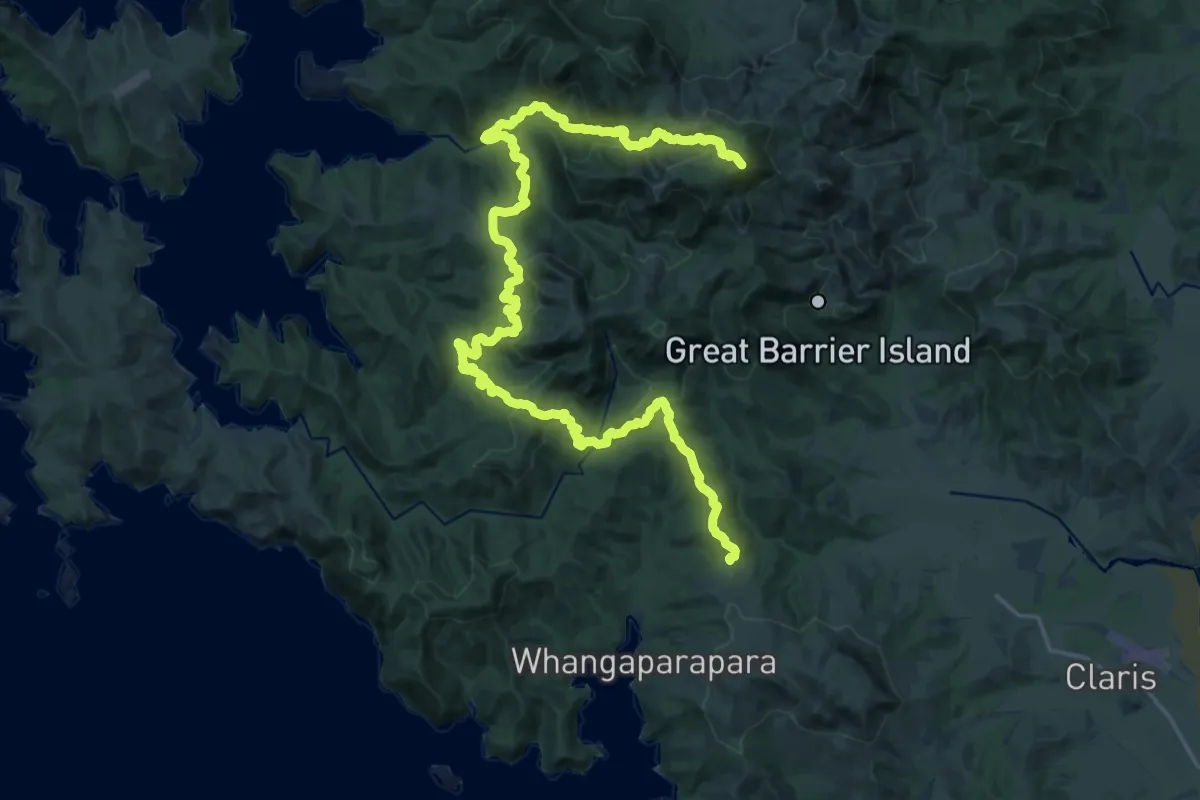
Aotea Track
32.1 km · ↑ 1880 m · 11 h 39 min
Medium · Trail
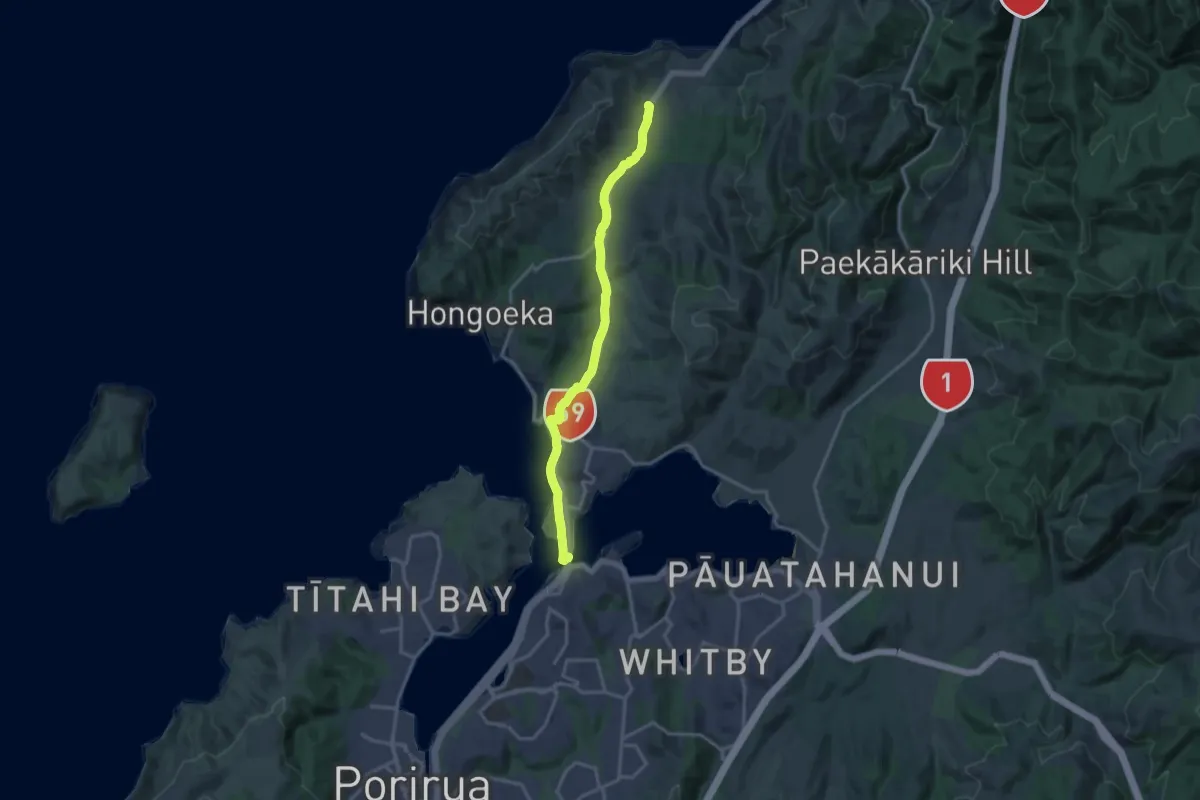
Ara Harakeke shared path
16.6 km · ↑ 92 m · 4 h 8 min
Demanding · Trail
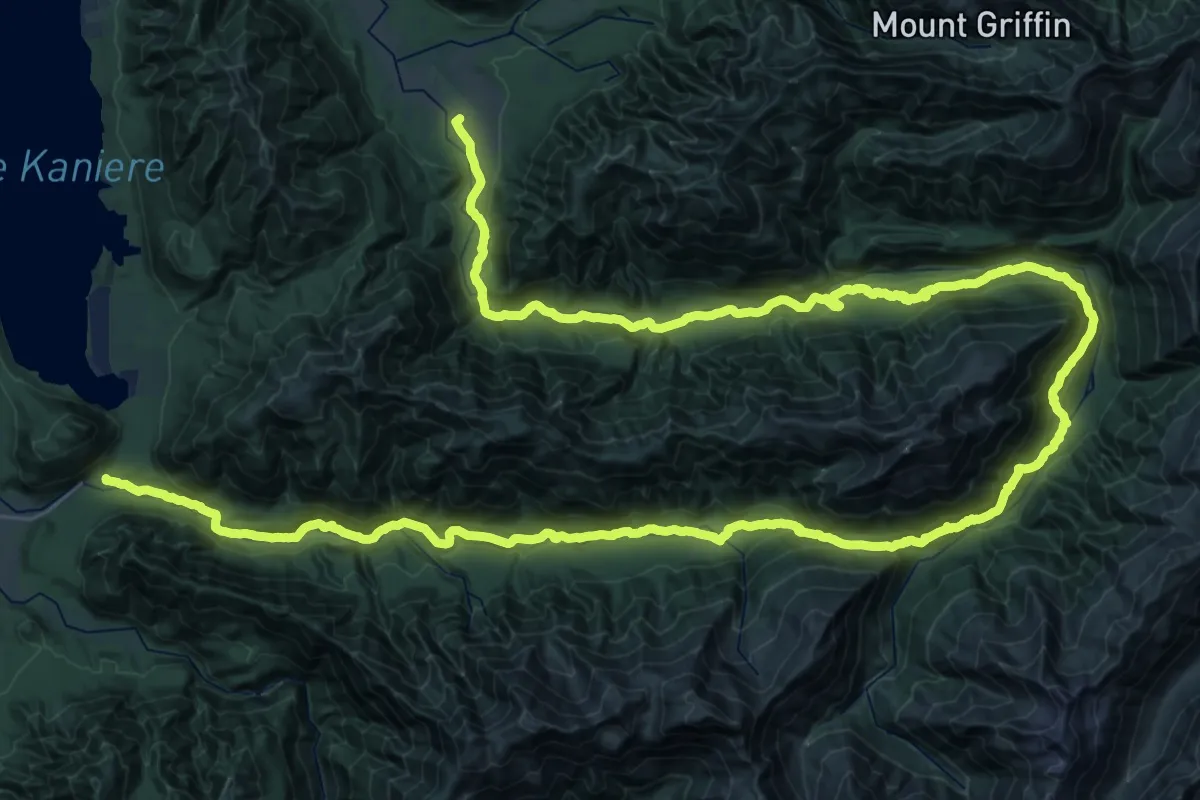
Arahua and Styx Valleys Tracks
38.6 km · ↑ 1261 m · 12 h 22 min
Medium · Trail
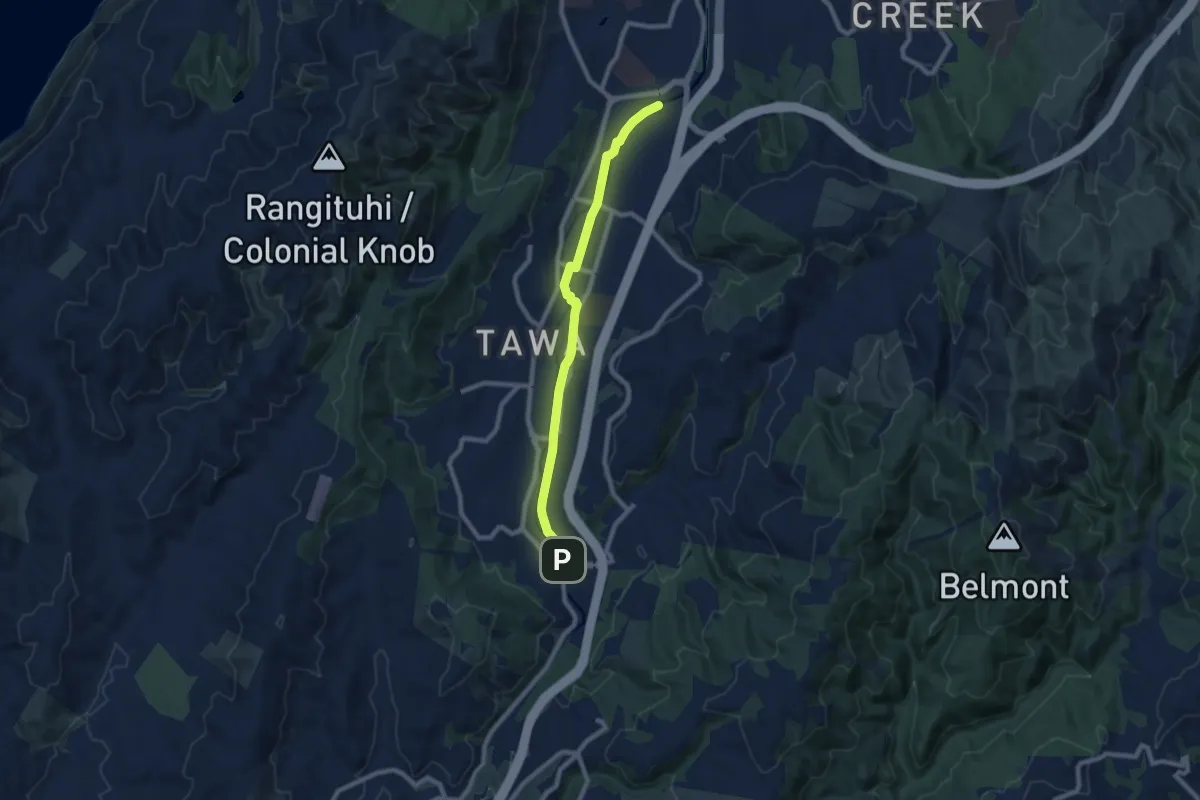
Ara Tawa
9.1 km · ↑ 30 m · 2 h 13 min
Easy · Trail
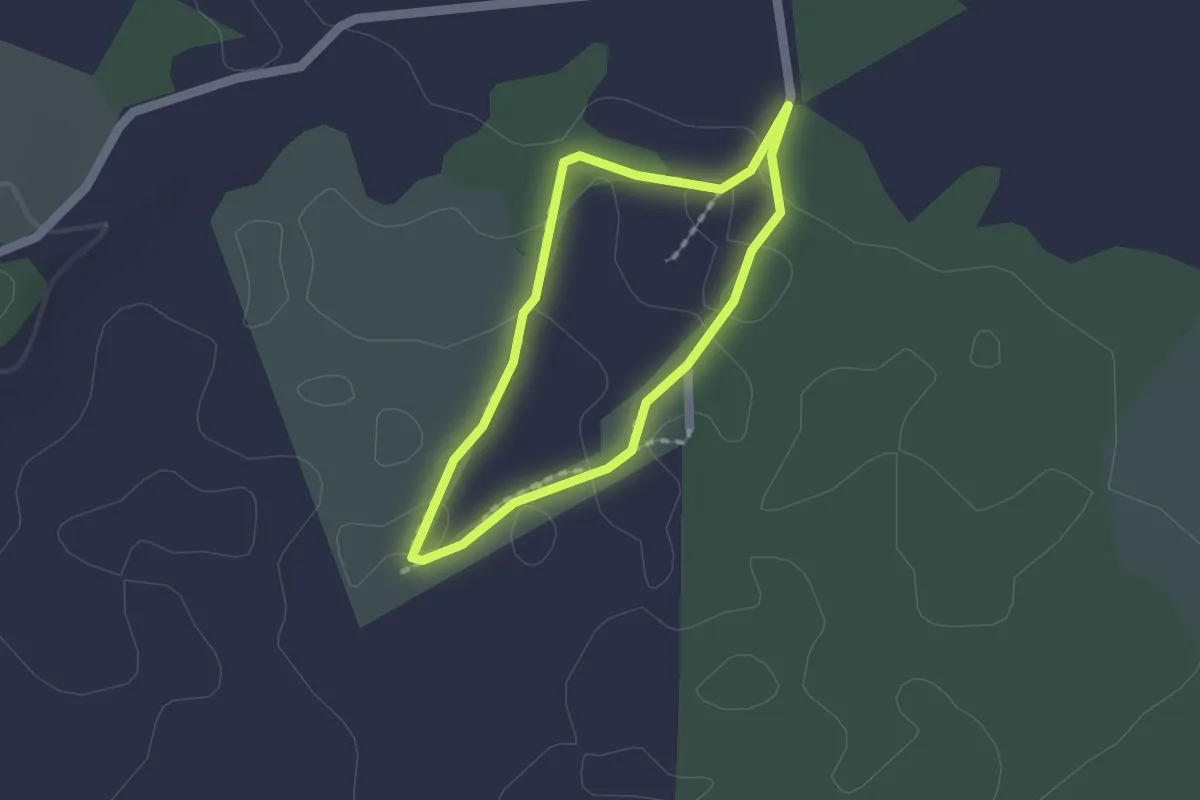
Arethusa Reserve loop
1.6 km · ↑ 0 m · 24 min
Easy · Trail
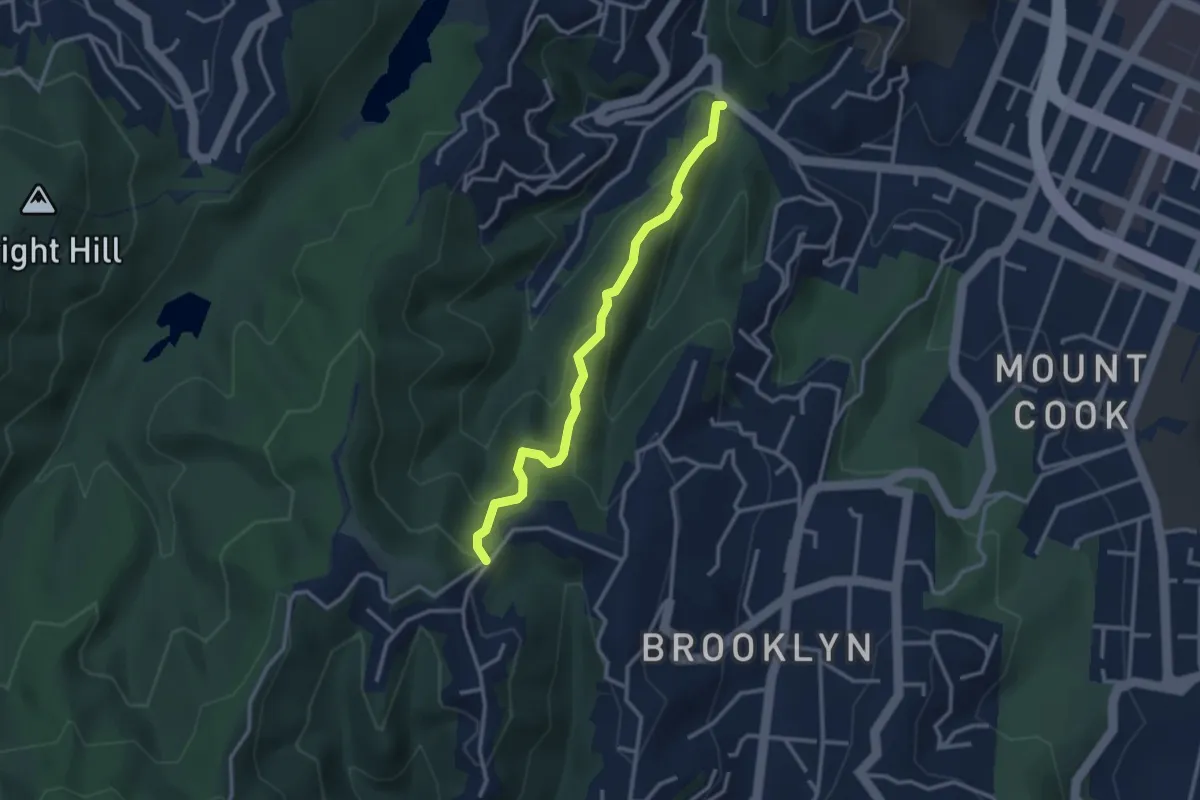
Aro St to Ashton Fitchett Dr
3.1 km · ↑ 244 m · 1 h 16 min
Demanding · Summit
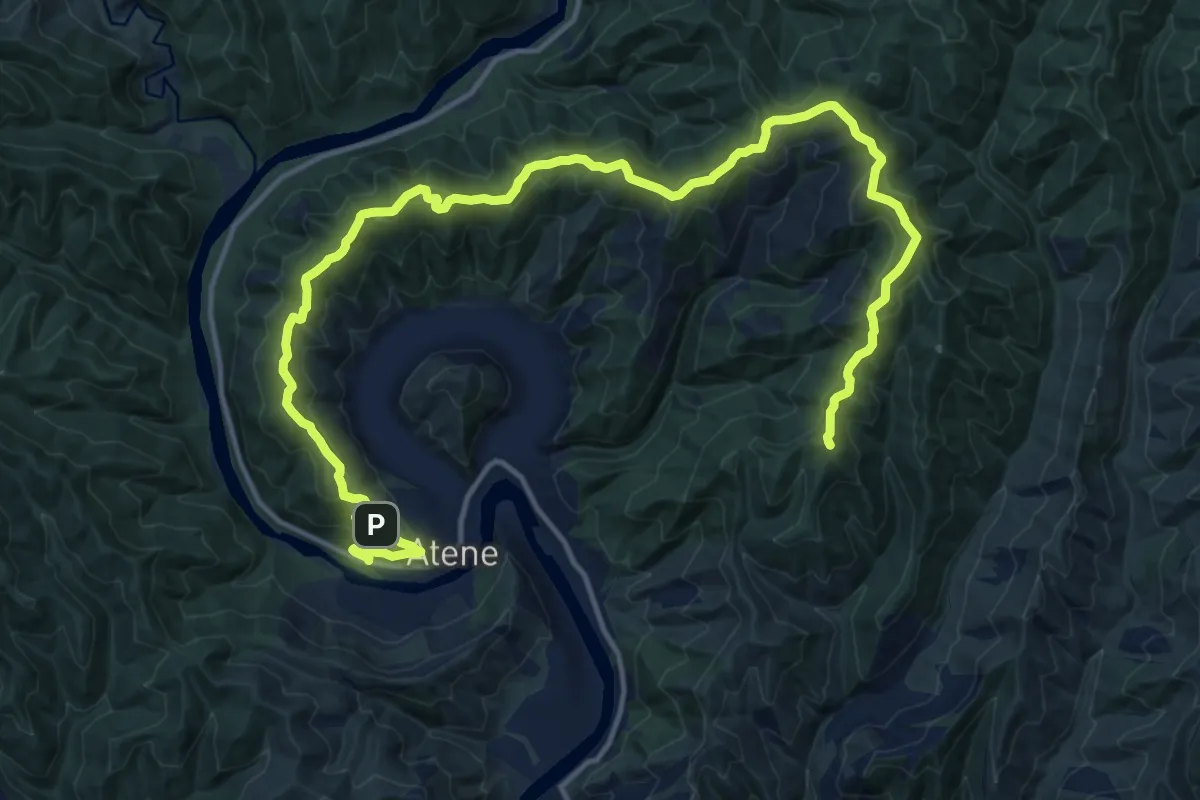
Atene Skyline Track
22.1 km · ↑ 1242 m · 7 h 54 min
Expert · Summit
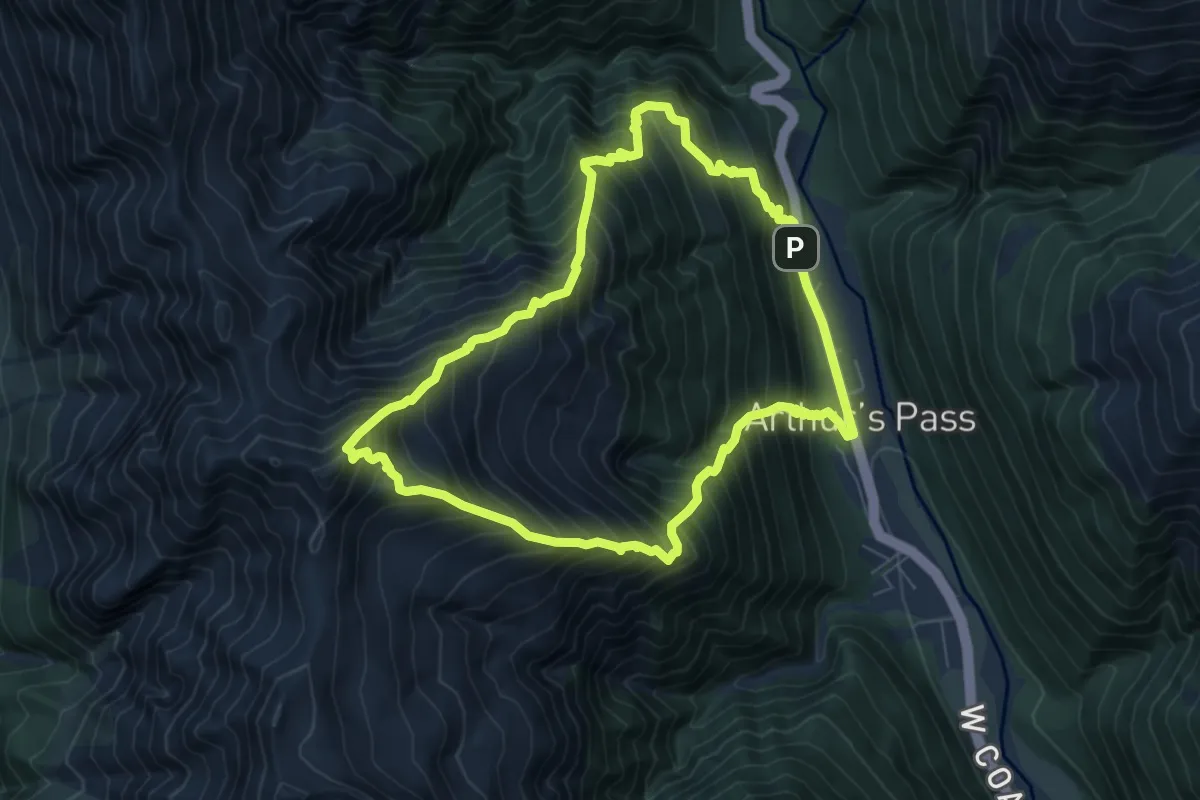
Avalanche Peak
7.1 km · ↑ 1043 m · 4 h 2 min
Medium · Trail
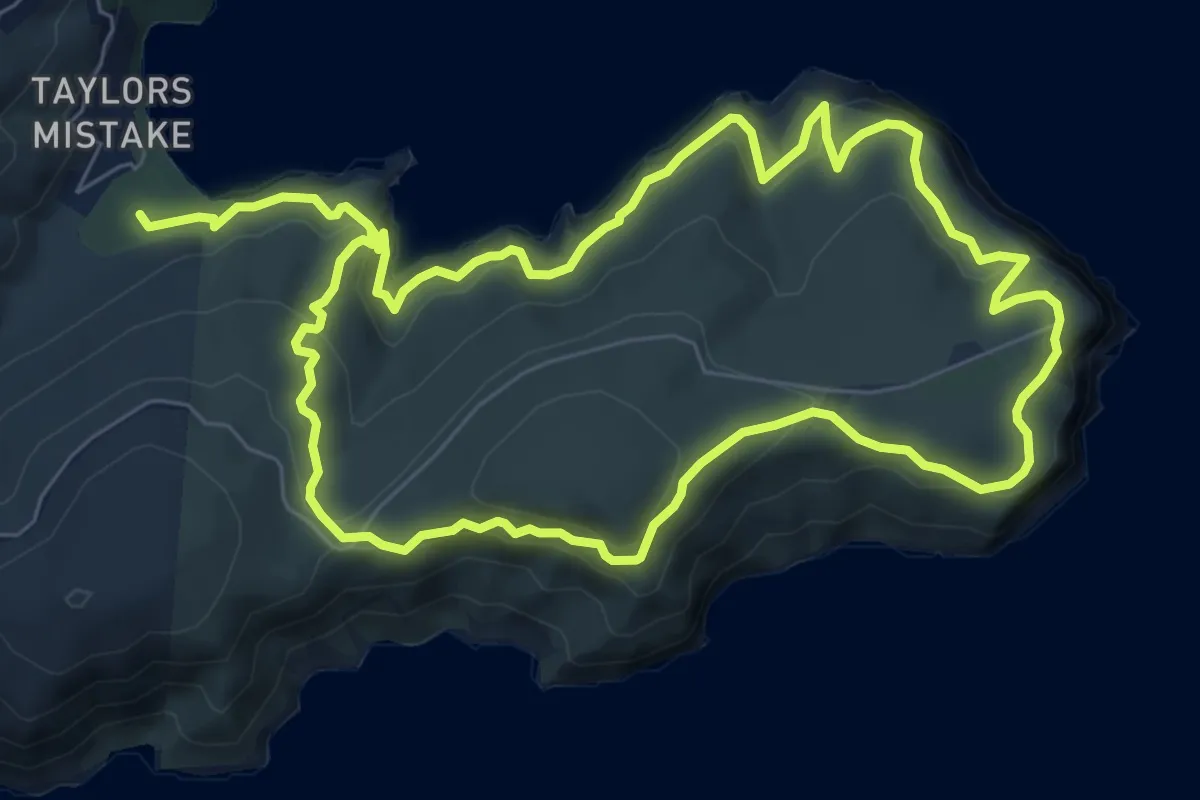
Awaroa/Godley Head Loop Track
15.6 km · ↑ 716 m · 5 h 14 min
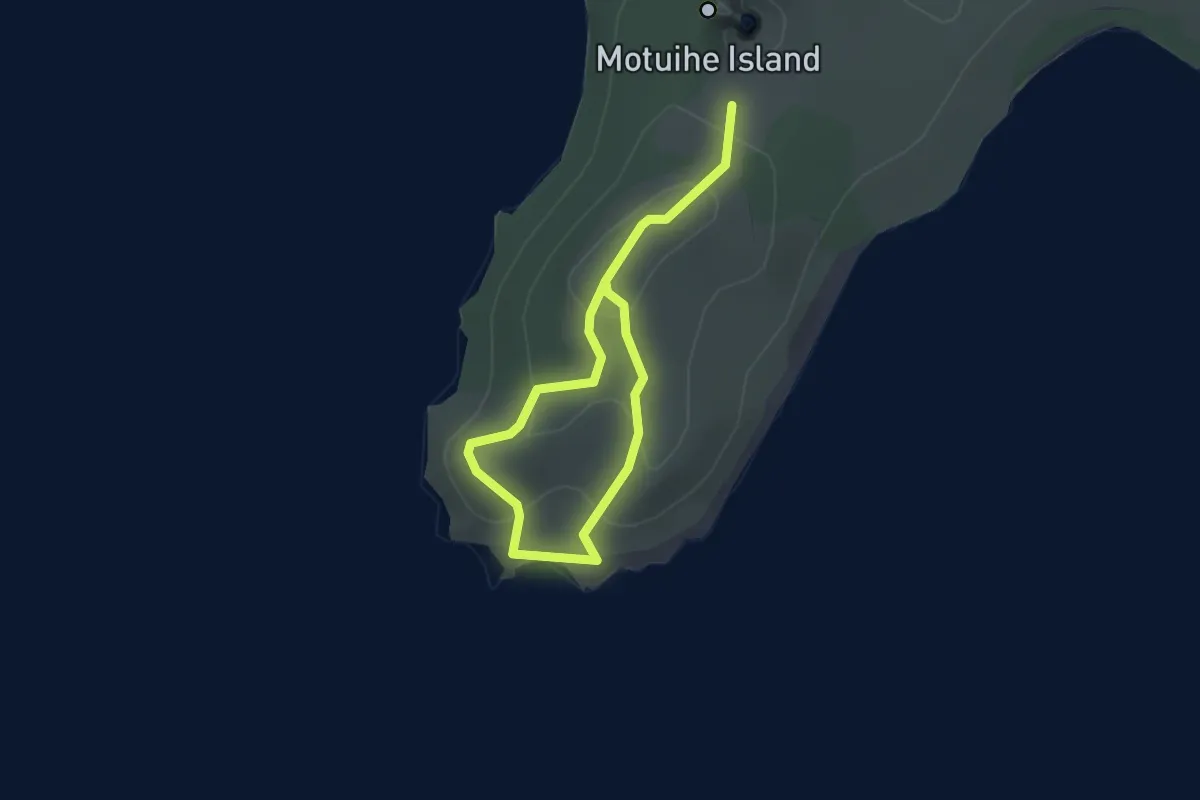
Easy · Trail
Bald Knob Track
4.2 km · ↑ 151 m · 1 h 19 min
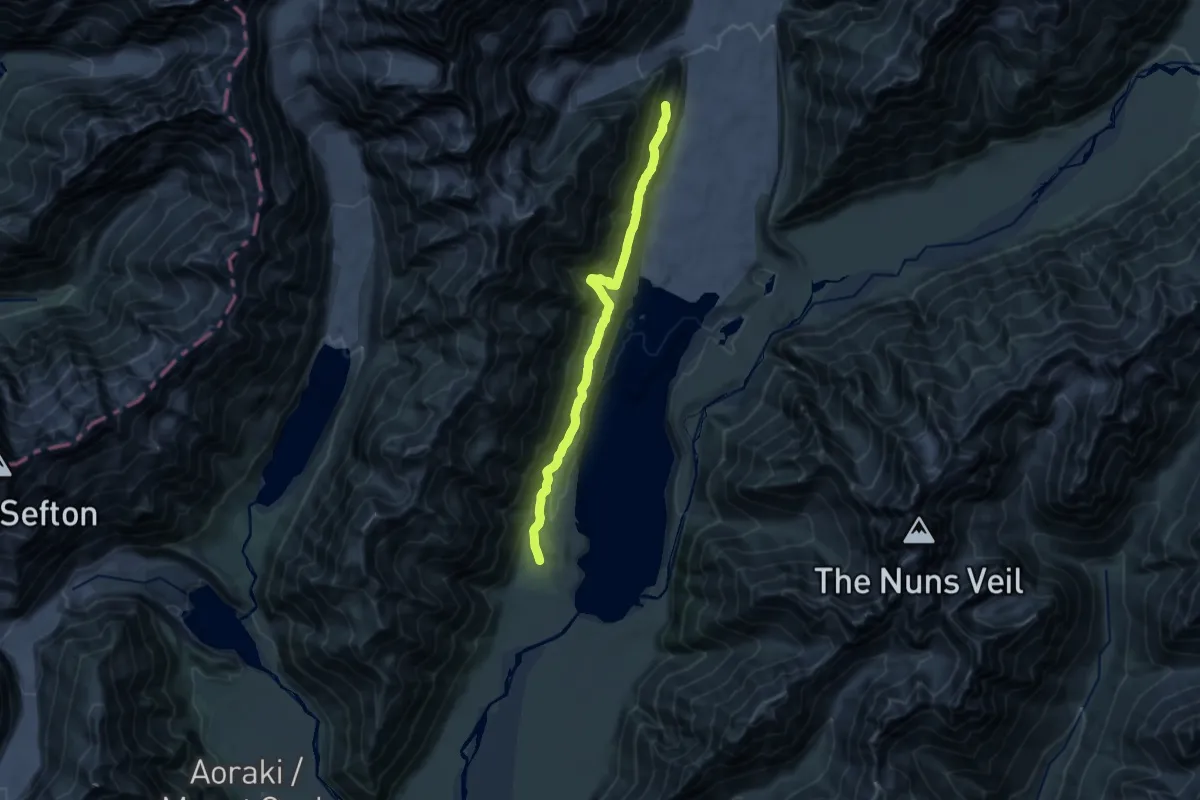
Demanding · Cabin
Ball Hut Track
19.1 km · ↑ 586 m · 5 h 47 min
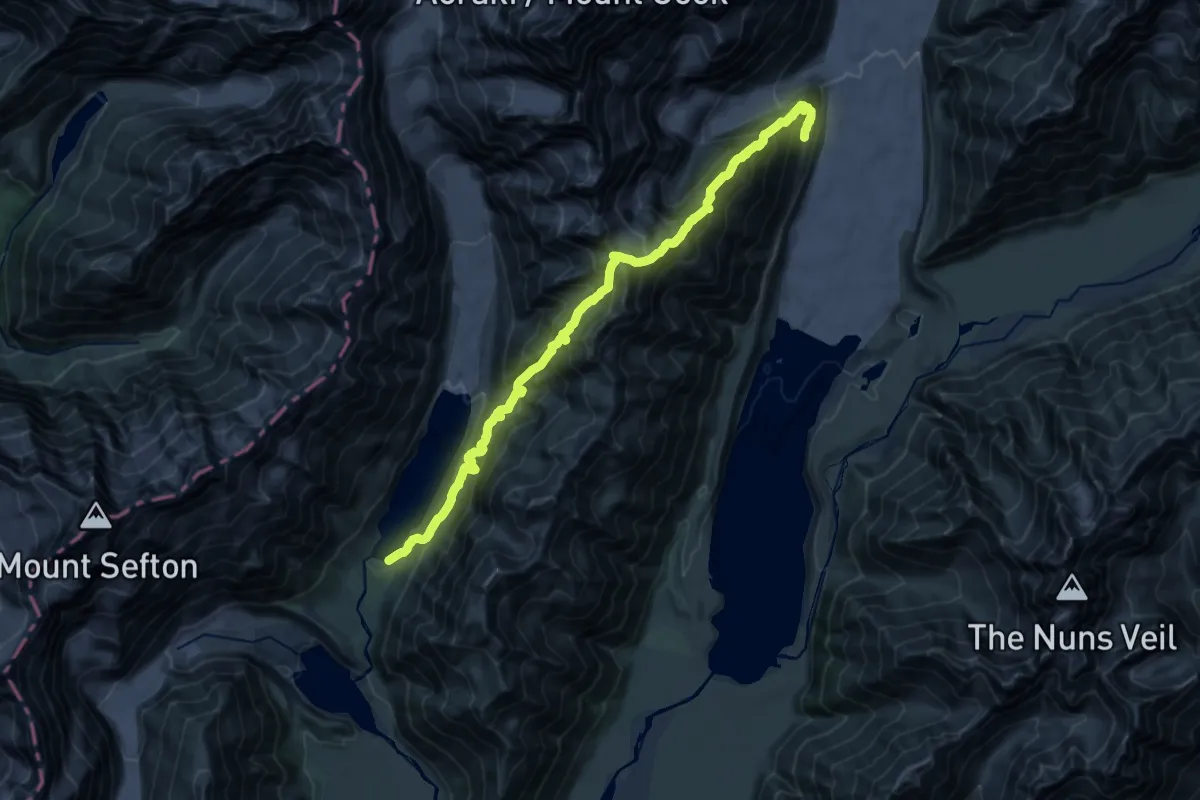
Expert · Cabin
Ball Pass Crossing
13.1 km · ↑ 1574 m · 6 h 37 min
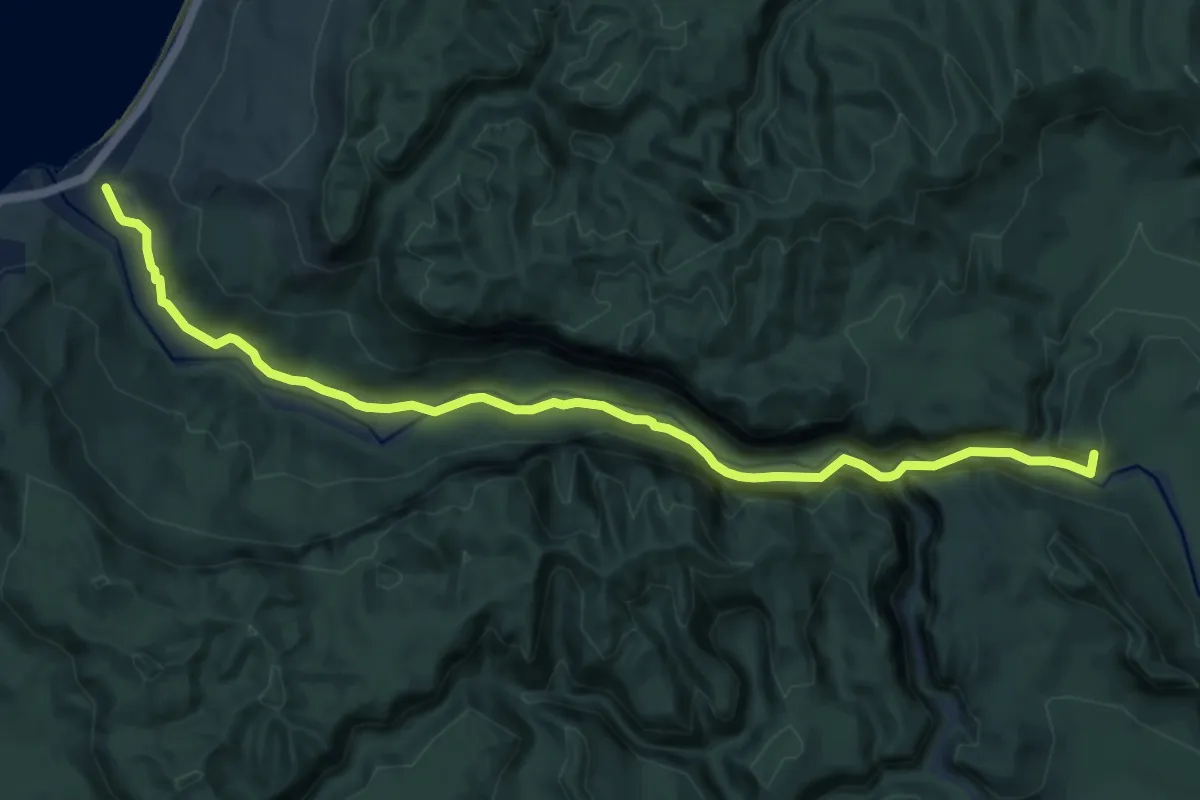
Medium · Trail
Ballroom Overhang
11.5 km · ↑ 412 m · 3 h 37 min
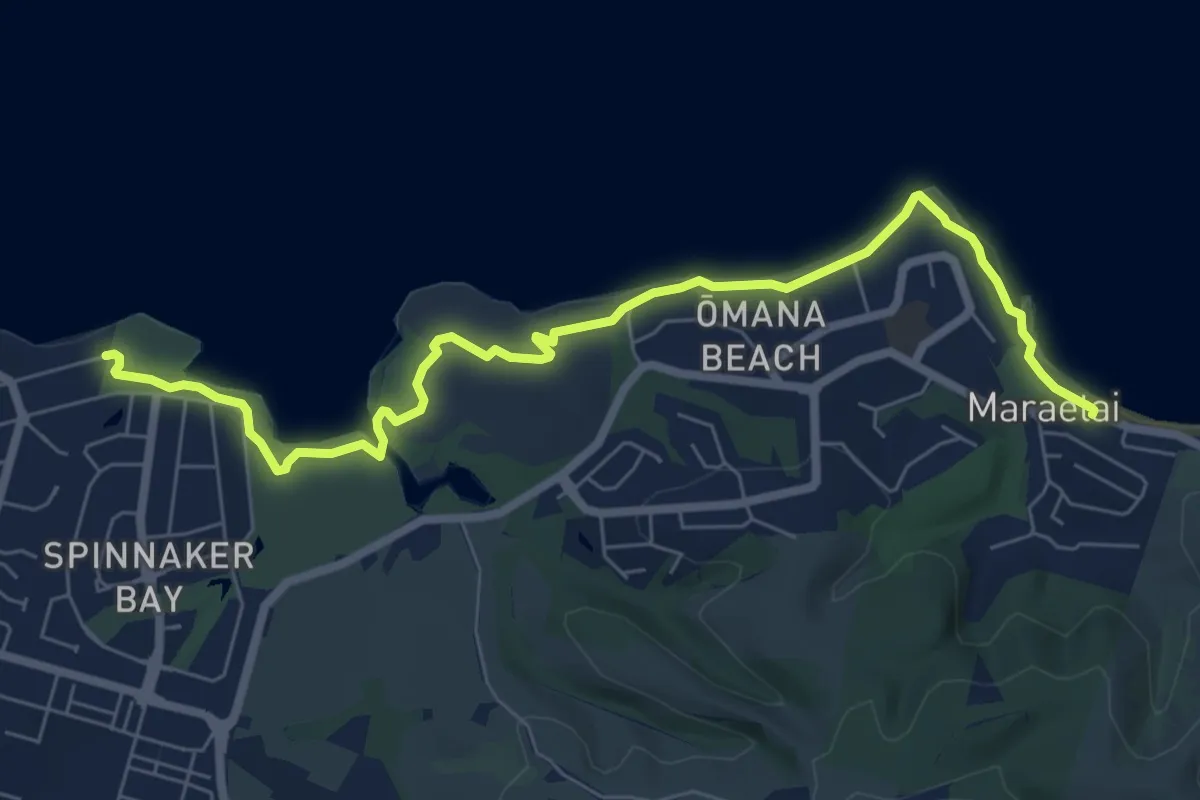
Medium · Trail
Beachlands – Maraetai Walkway
9.2 km · ↑ 66 m · 2 h 18 min
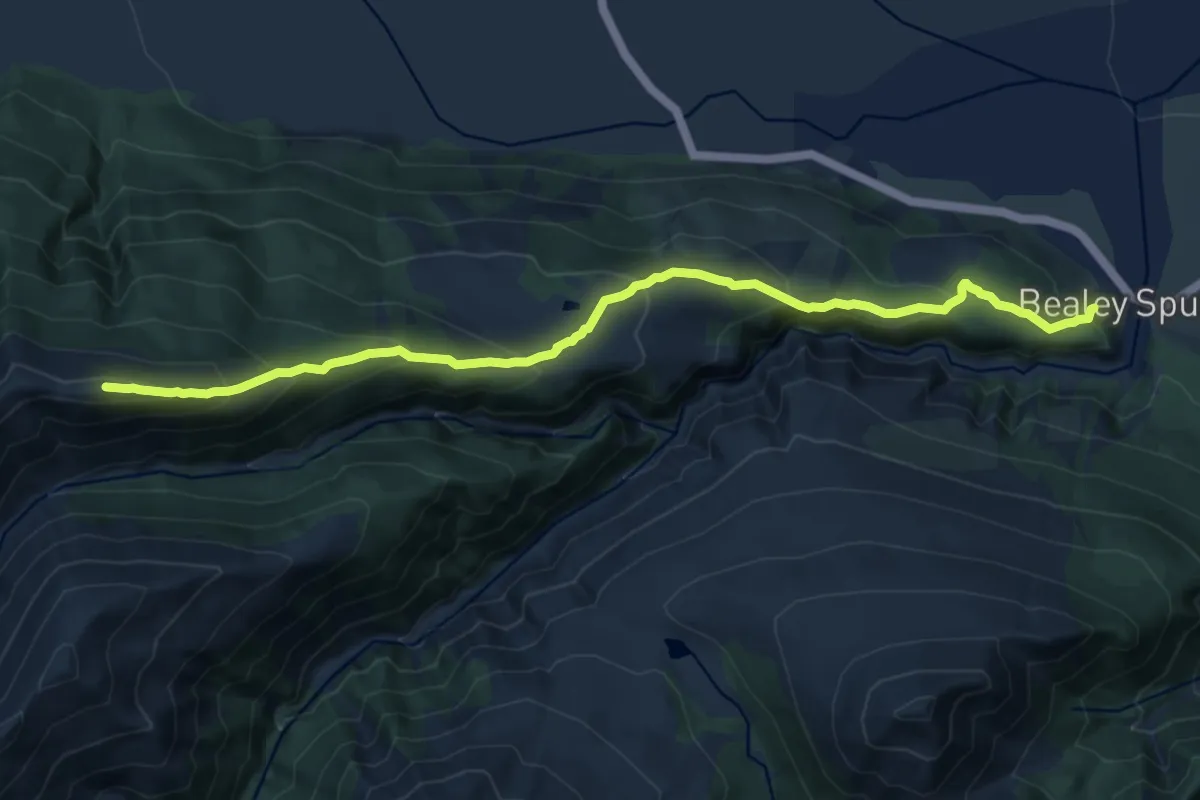
Demanding · Trail
Bealey Spur Hut
14.3 km · ↑ 883 m · 5 h 18 min
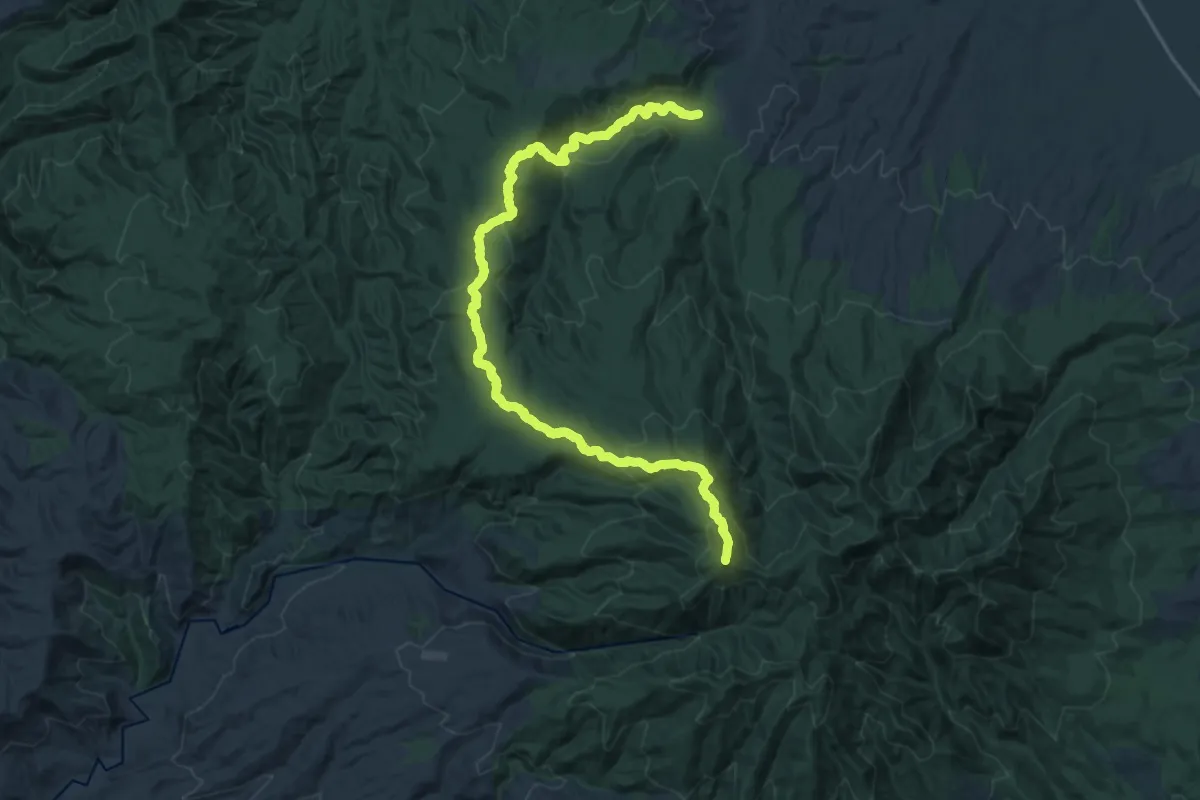
Demanding · Summit
Bell Track
25.5 km · ↑ 937 m · 8 h 2 min
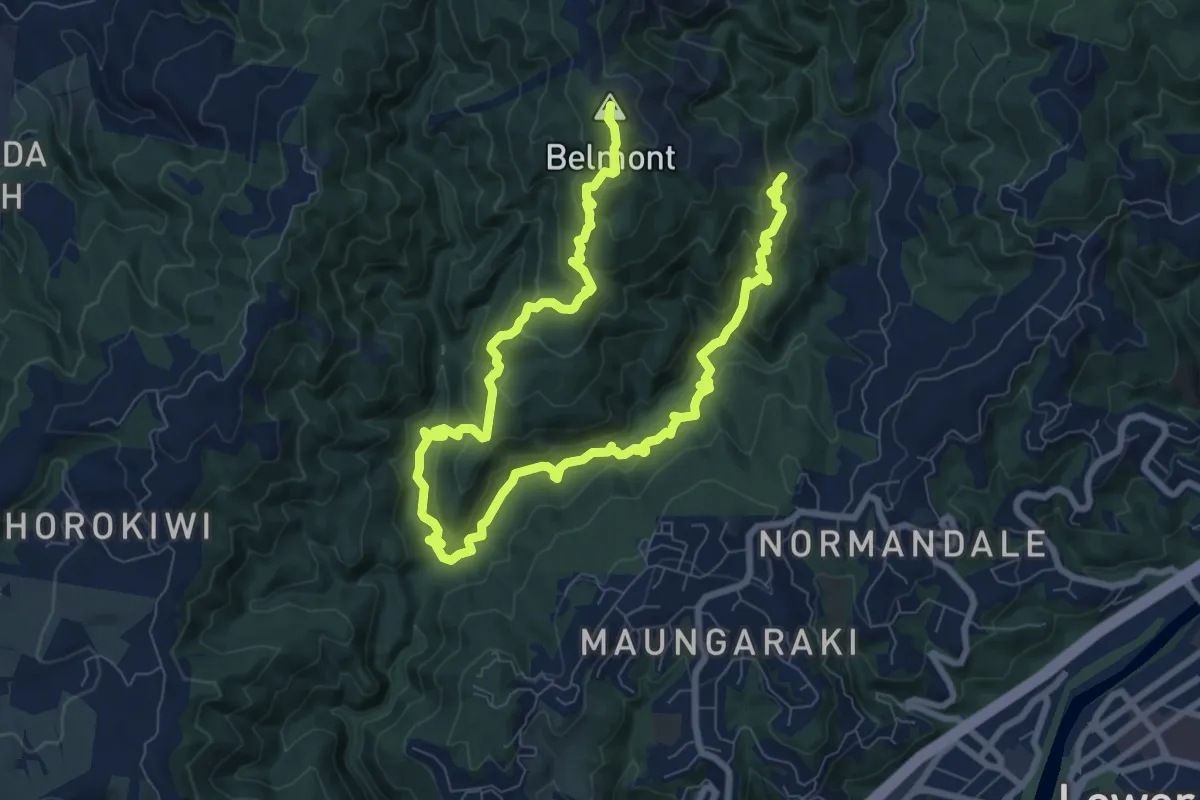
Medium · Summit
Belmont Trig Loop
13.7 km · ↑ 770 m · 4 h 54 min
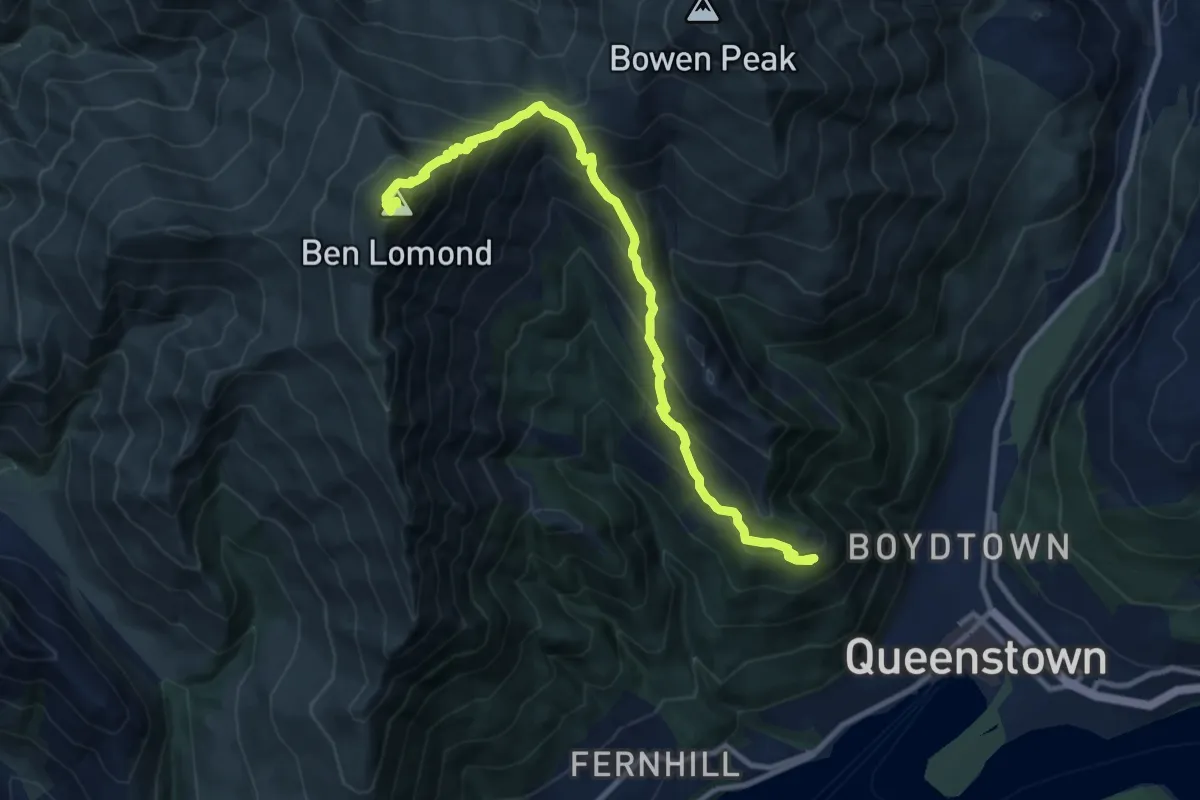
Demanding · Summit
Ben Lomond
11.0 km · ↑ 1047 m · 4 h 52 min
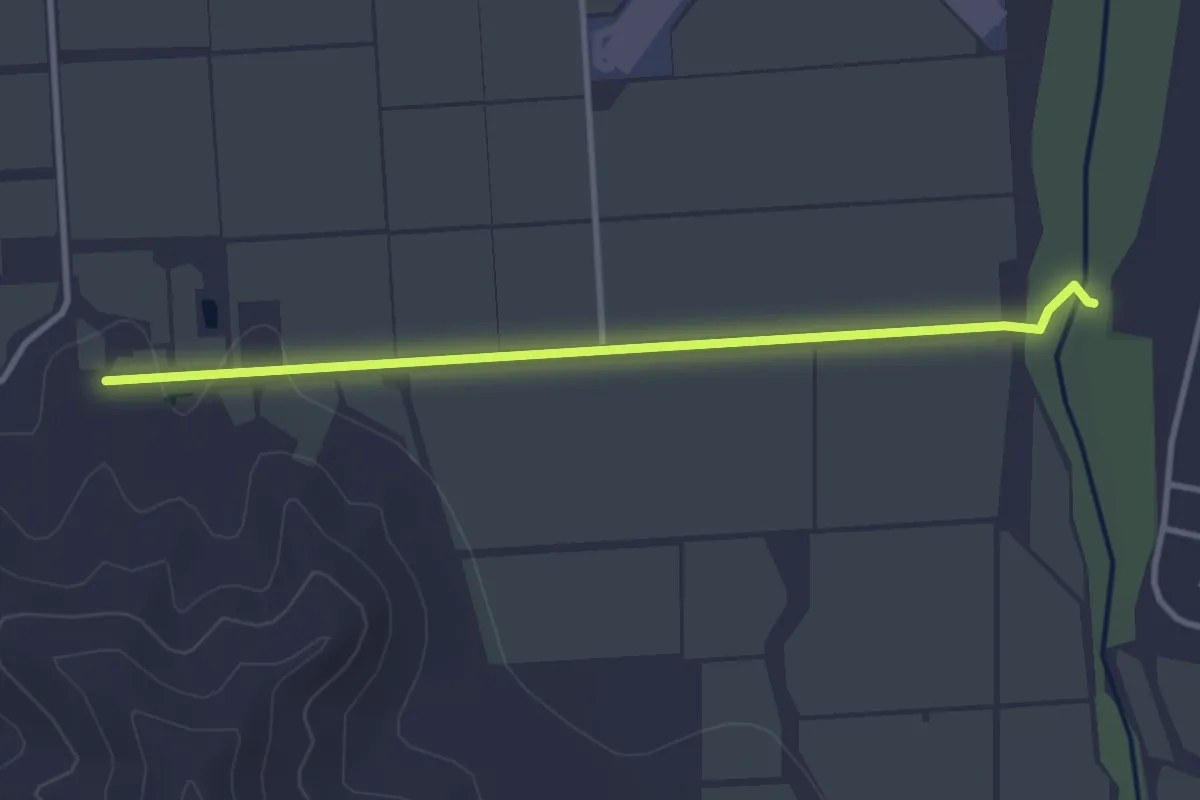
Easy · Trail
Ben Morven Track
3.6 km · ↑ 17 m · 54 min
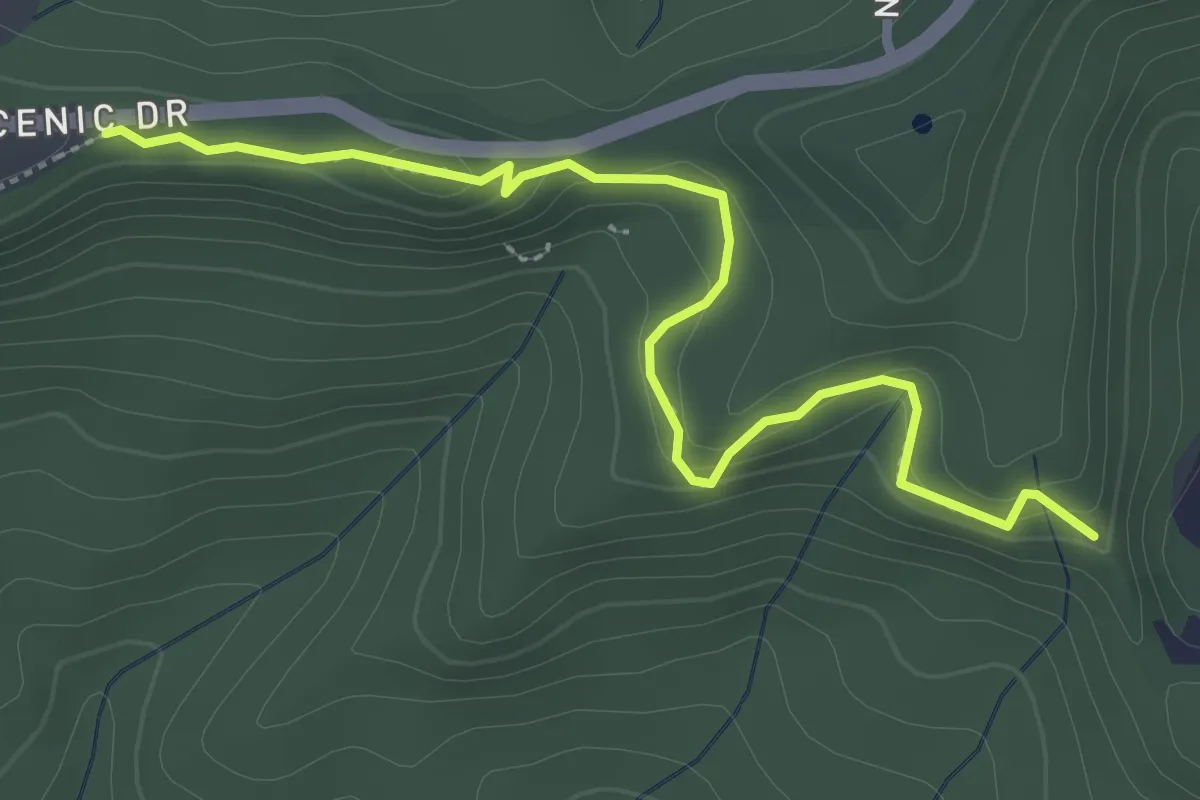
Easy · Trail
Beveridge Track
3.6 km · ↑ 142 m · 1 h 10 min
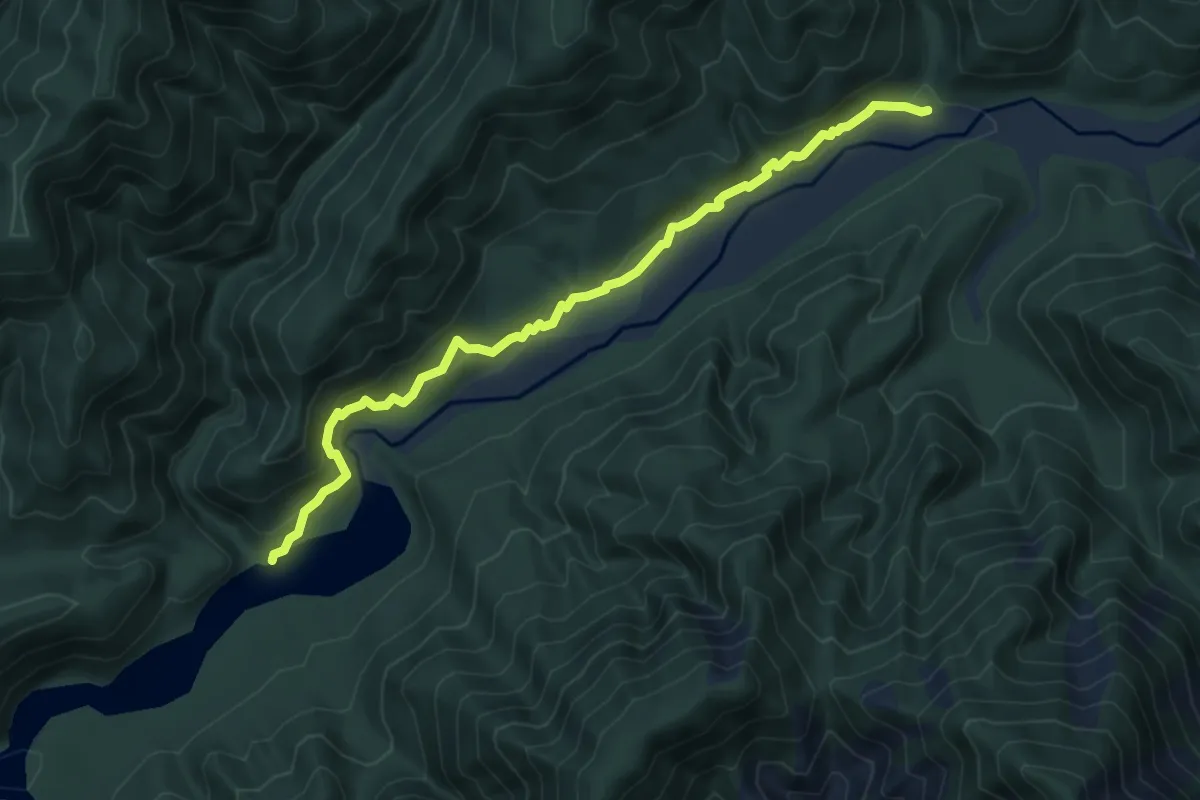
Easy · Trail
Big Bend Track
6.6 km · ↑ 234 m · 2 h 4 min
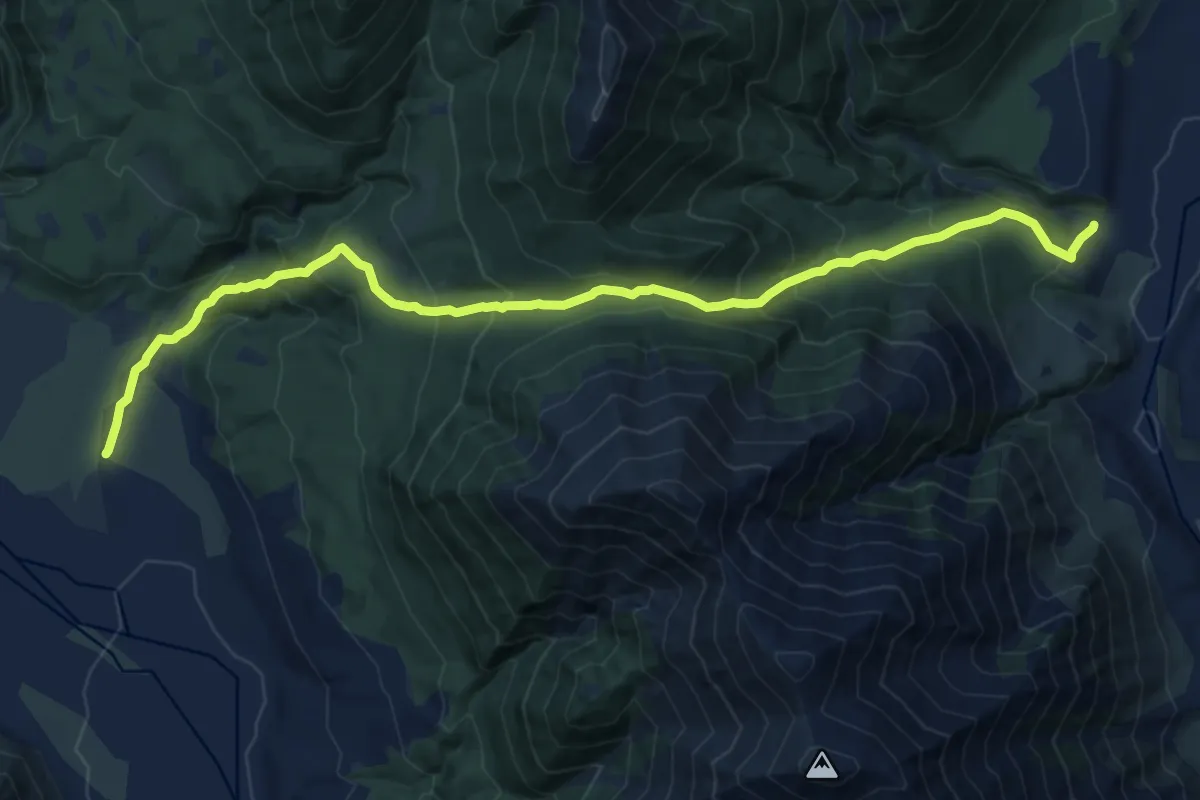
Demanding · Trail
Binser Saddle Track
15.3 km · ↑ 1165 m · 6 h 8 min
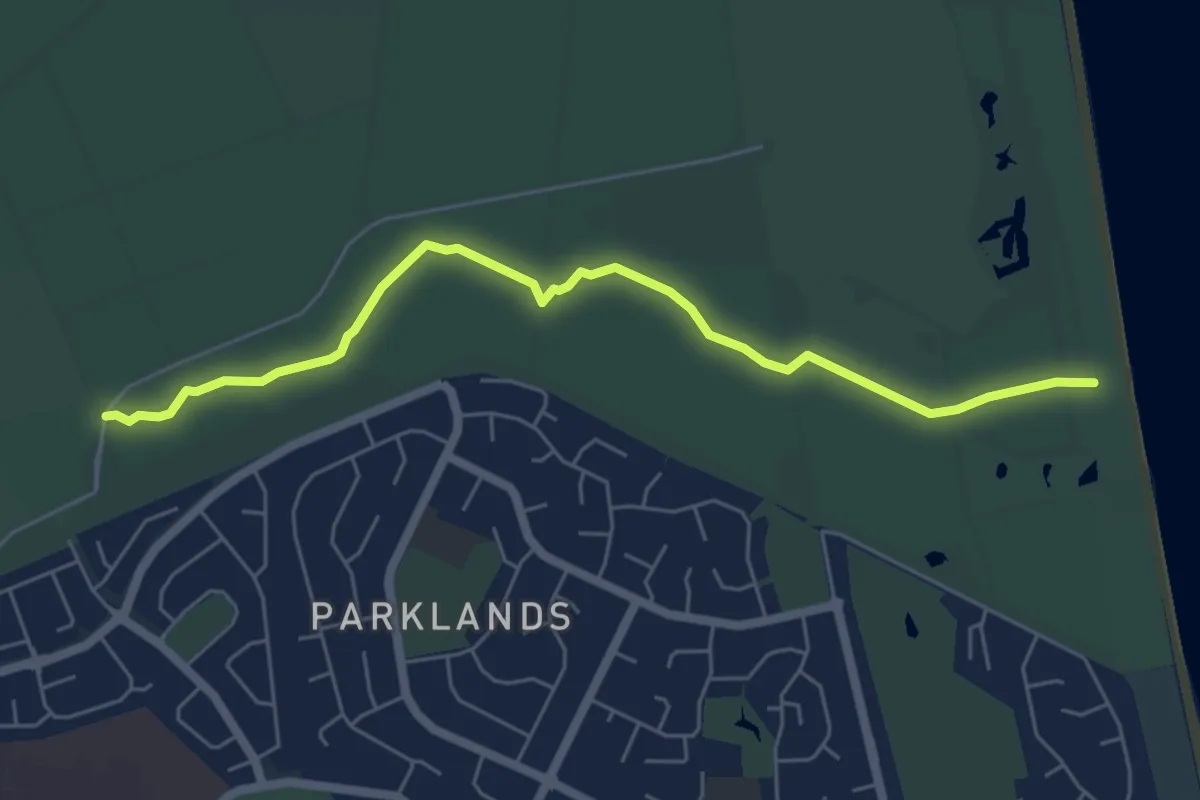
Easy · Trail
Blue Coastal Track
6.3 km · ↑ 0 m · 1 h 30 min
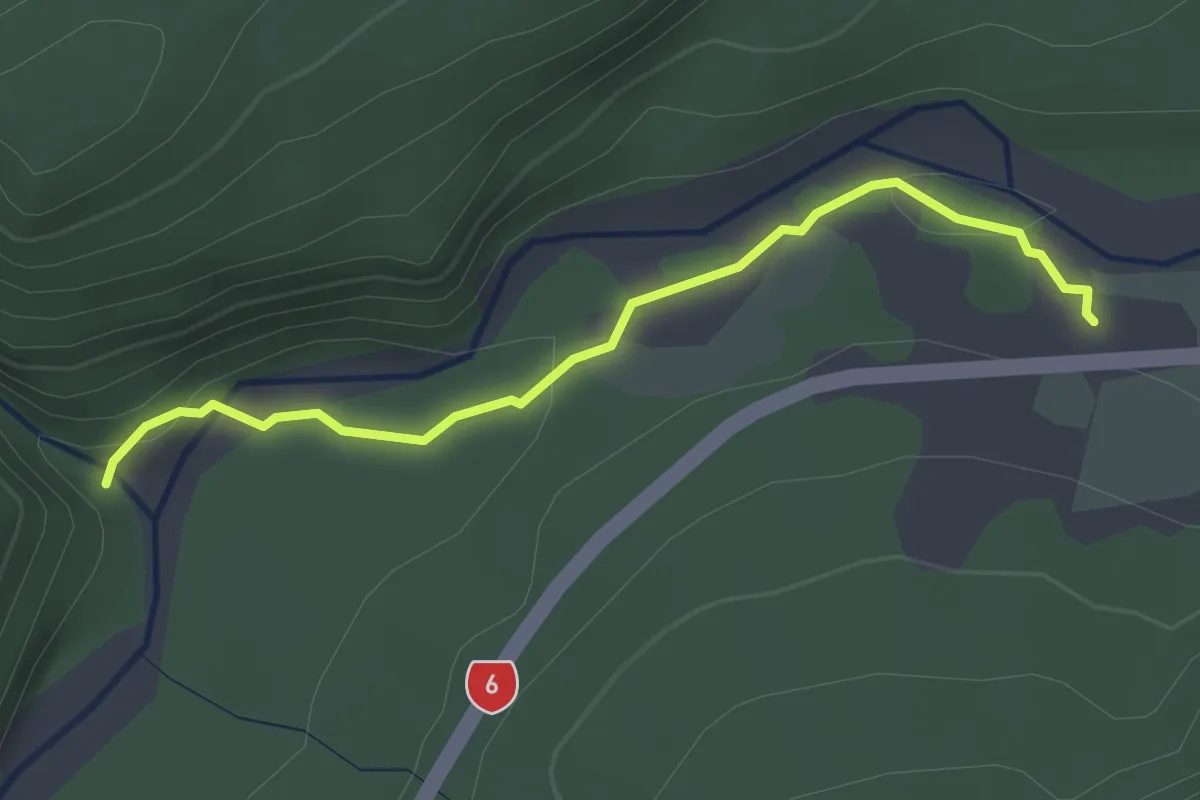
Easy · Trail
Blue Pools Track
3.2 km · ↑ 66 m · 54 min
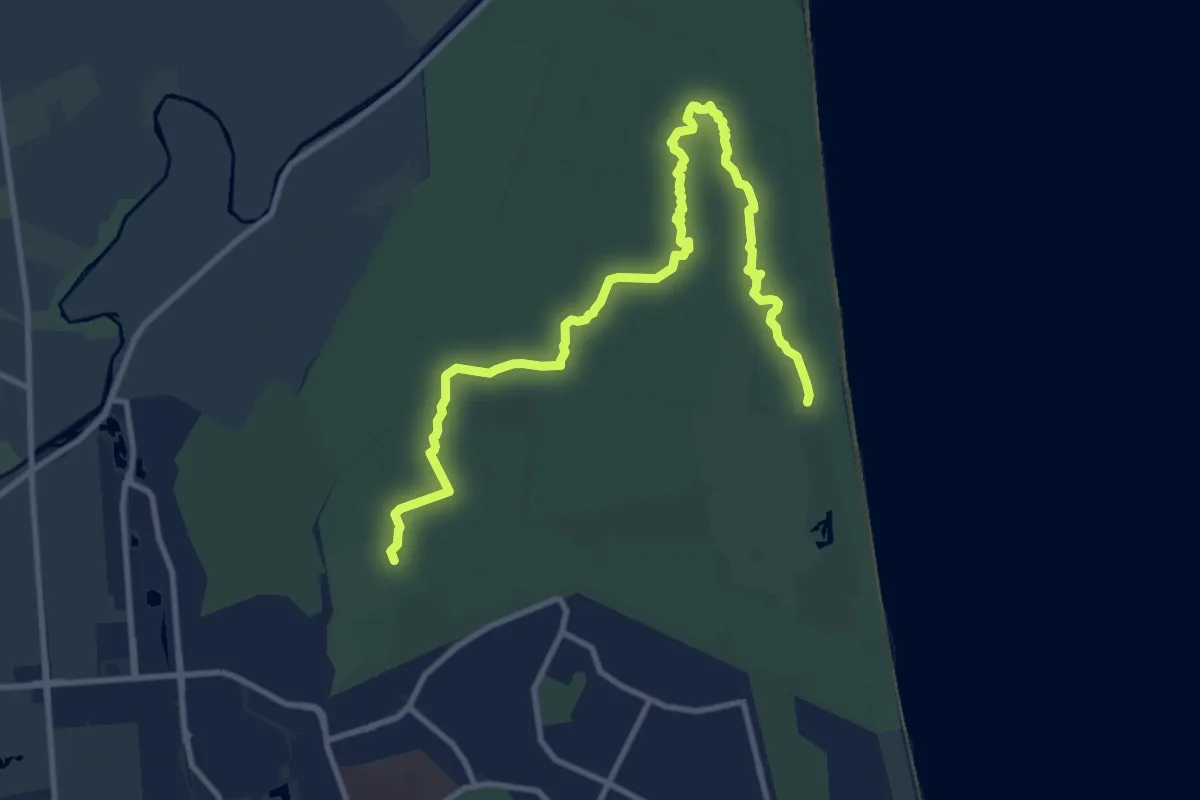
Medium · Trail
Blue Walking Track
13.6 km · ↑ 4 m · 3 h 13 min
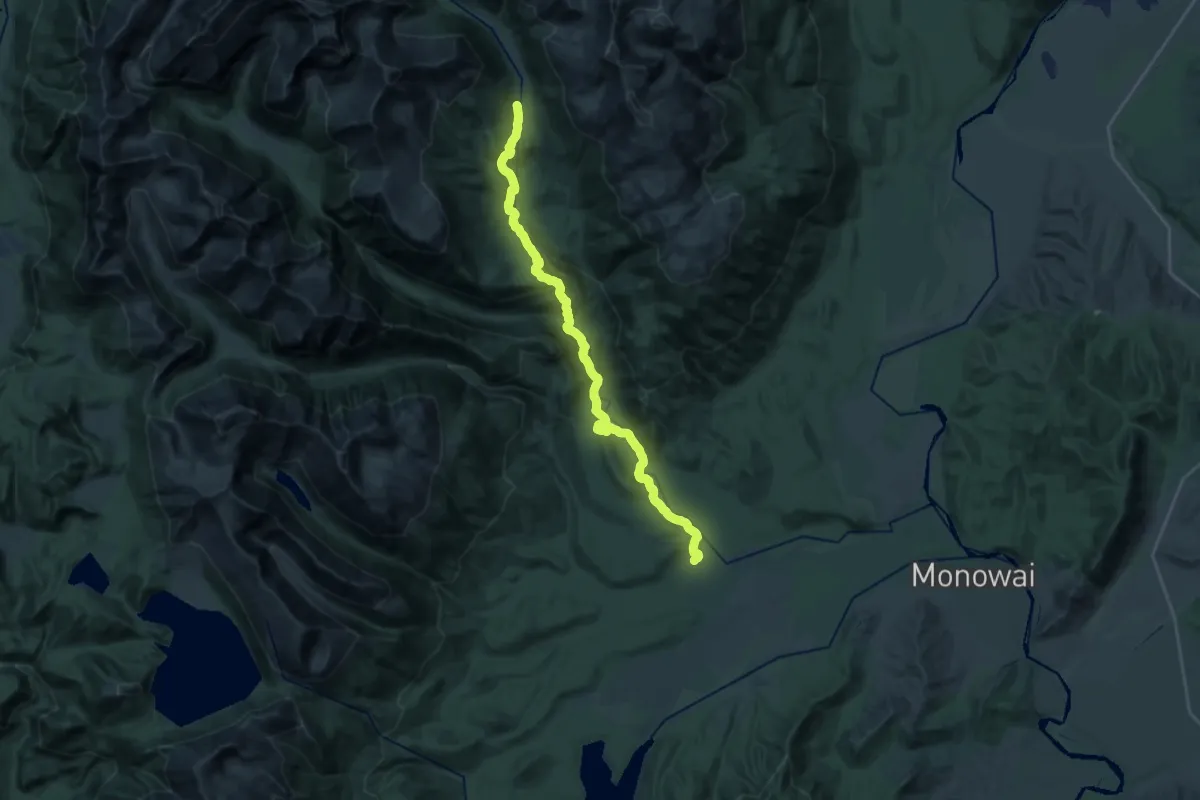
Medium · Cabin
Borland Lodge to North Borland Hut
13.5 km · ↑ 655 m · 4 h 33 min
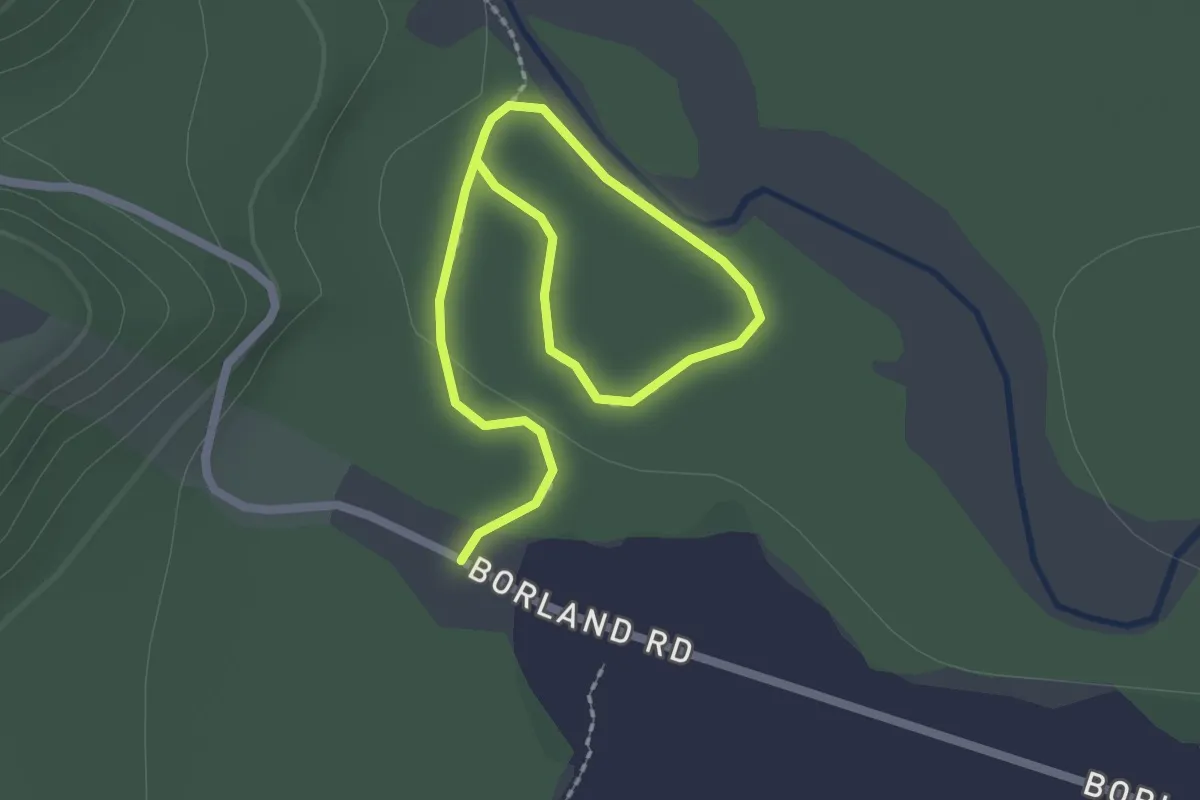
Easy · Trail
Borland Nature Walk
3.0 km · ↑ 4 m · 44 min
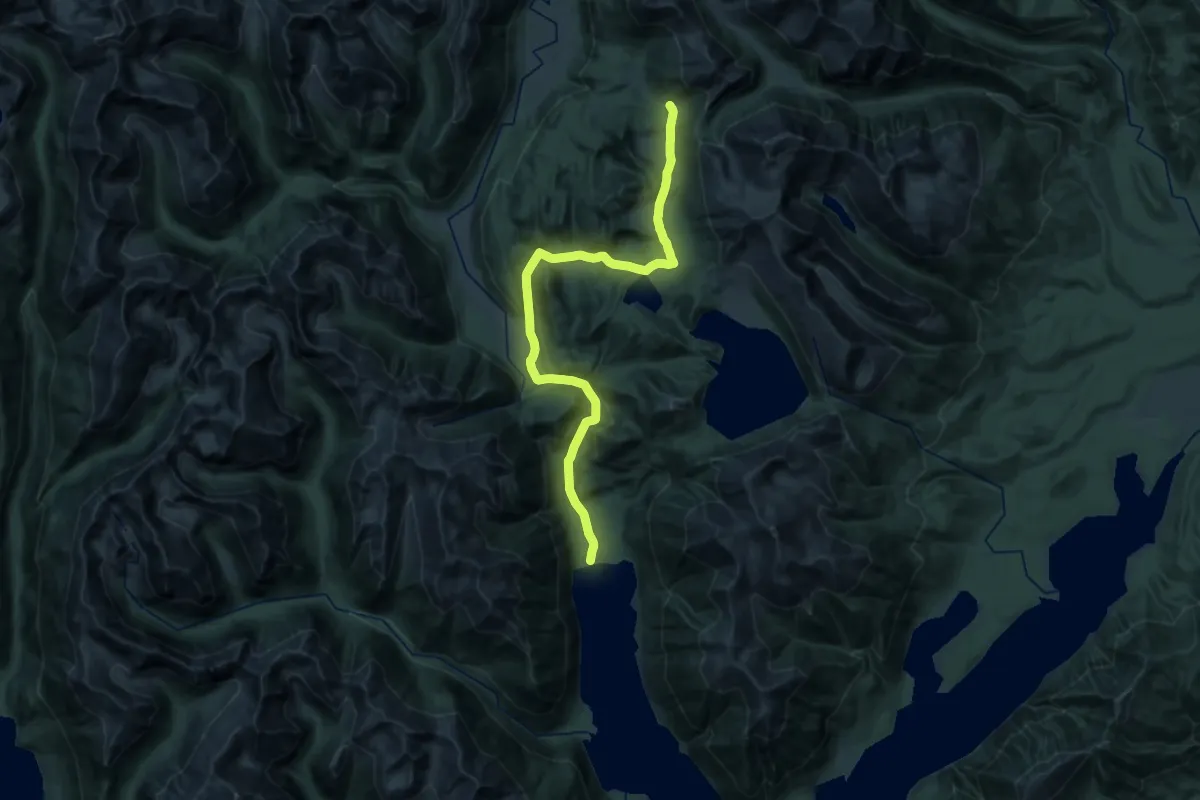
Demanding · Cabin
Borland Road to Monowai Hut
15.7 km · ↑ 815 m · 5 h 25 min
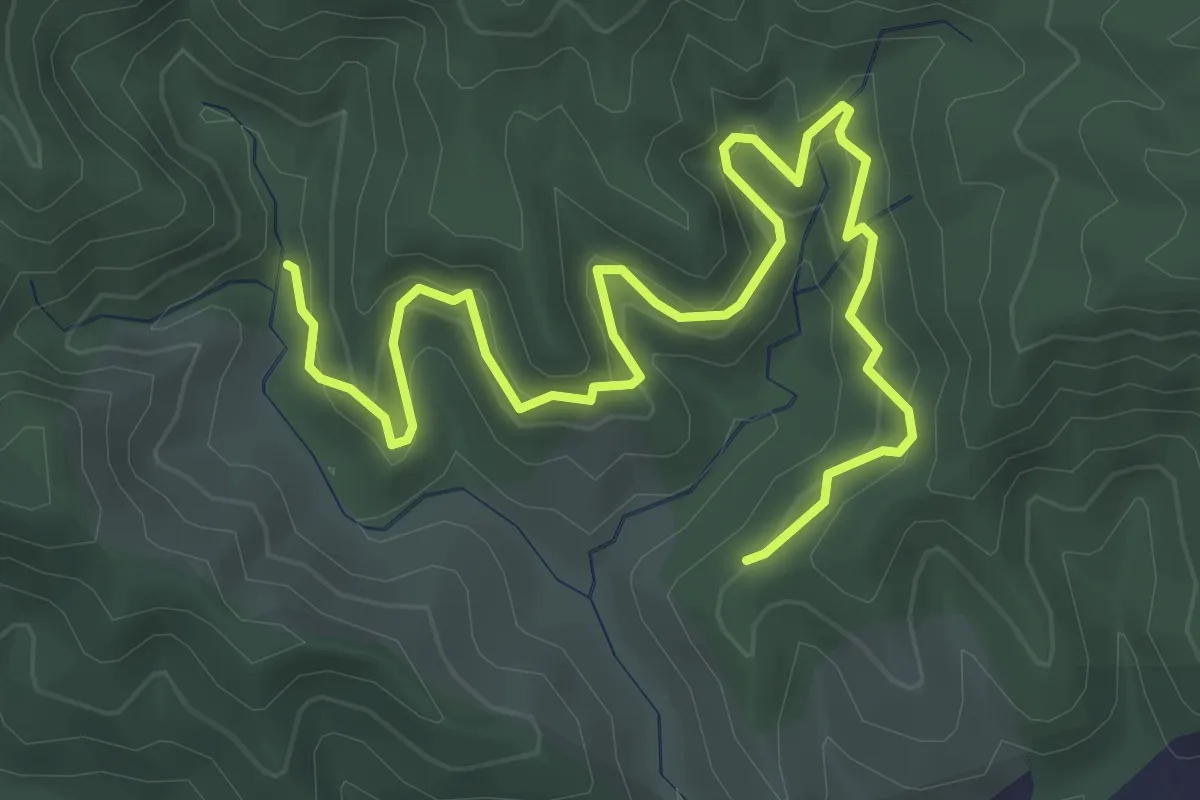
Medium · Trail
Botanical Track
5.4 km · ↑ 407 m · 2 h 9 min
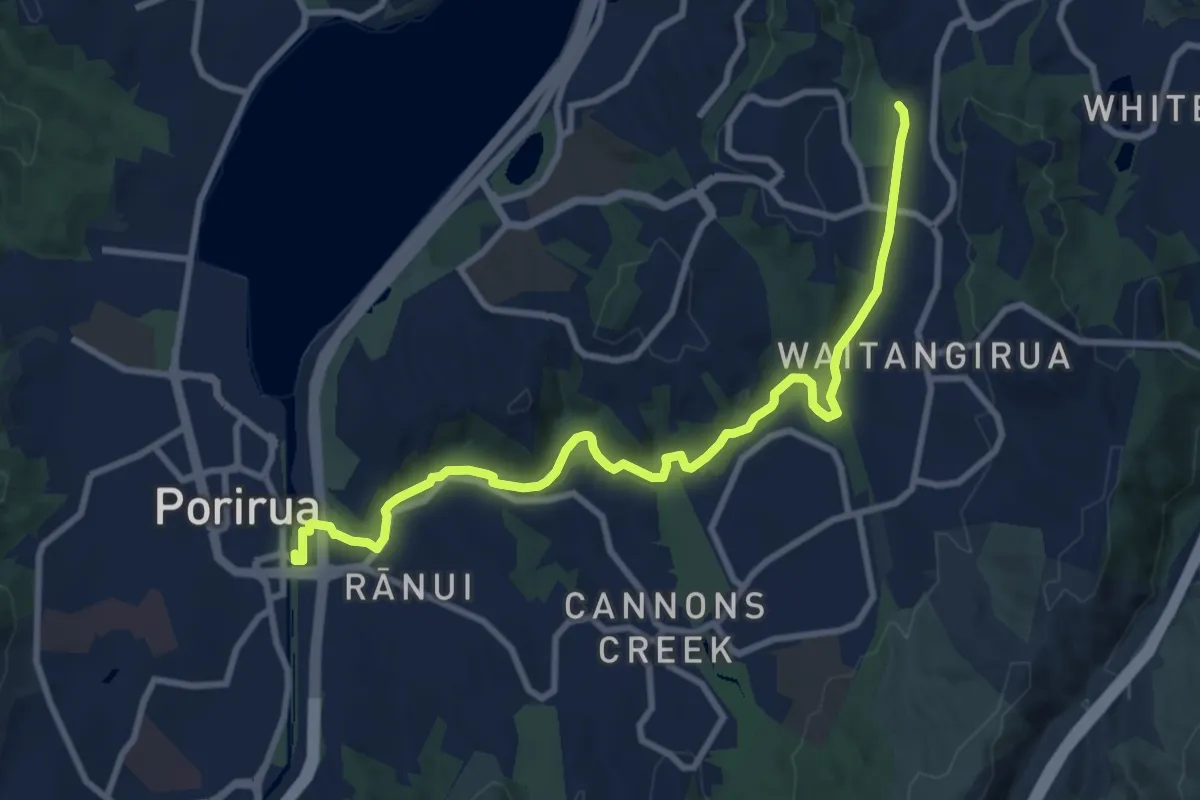
Medium · Trail
Bothamley (shared) pathway
11.0 km · ↑ 65 m · 2 h 44 min
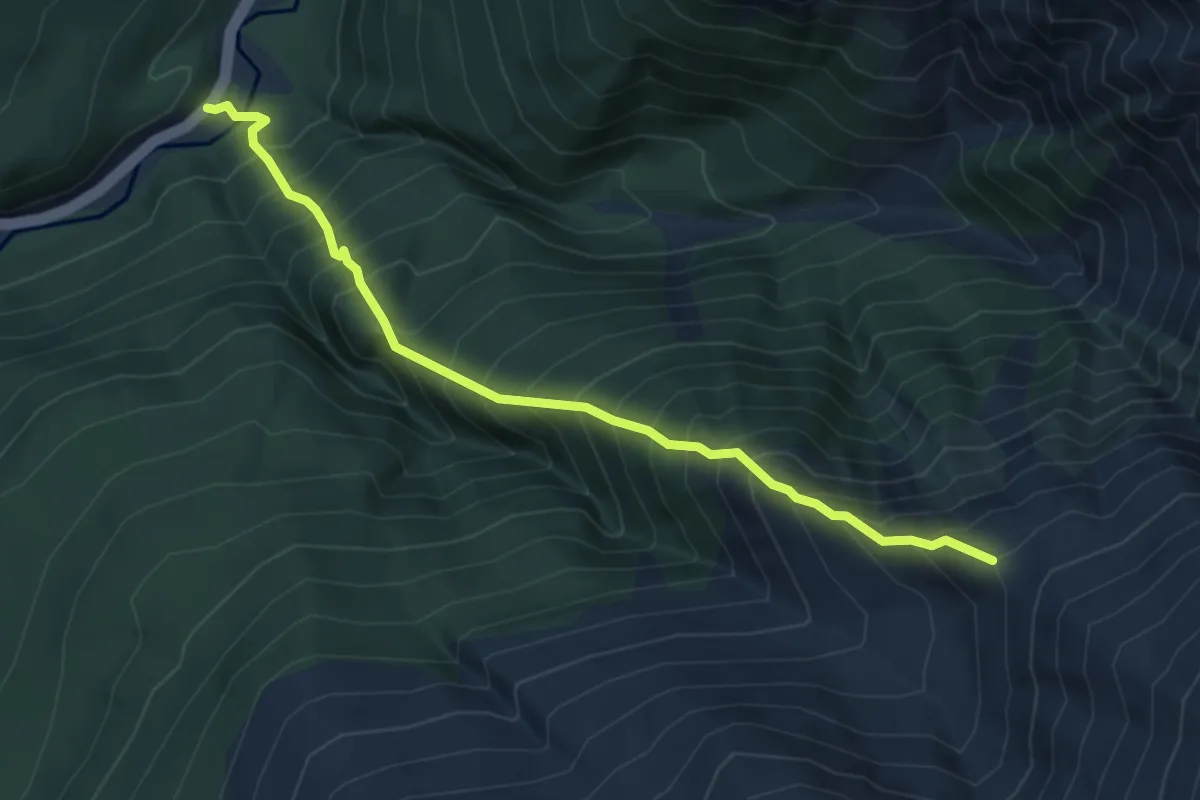
Demanding · Cabin
Brewster Track
5.5 km · ↑ 999 m · 3 h 28 min
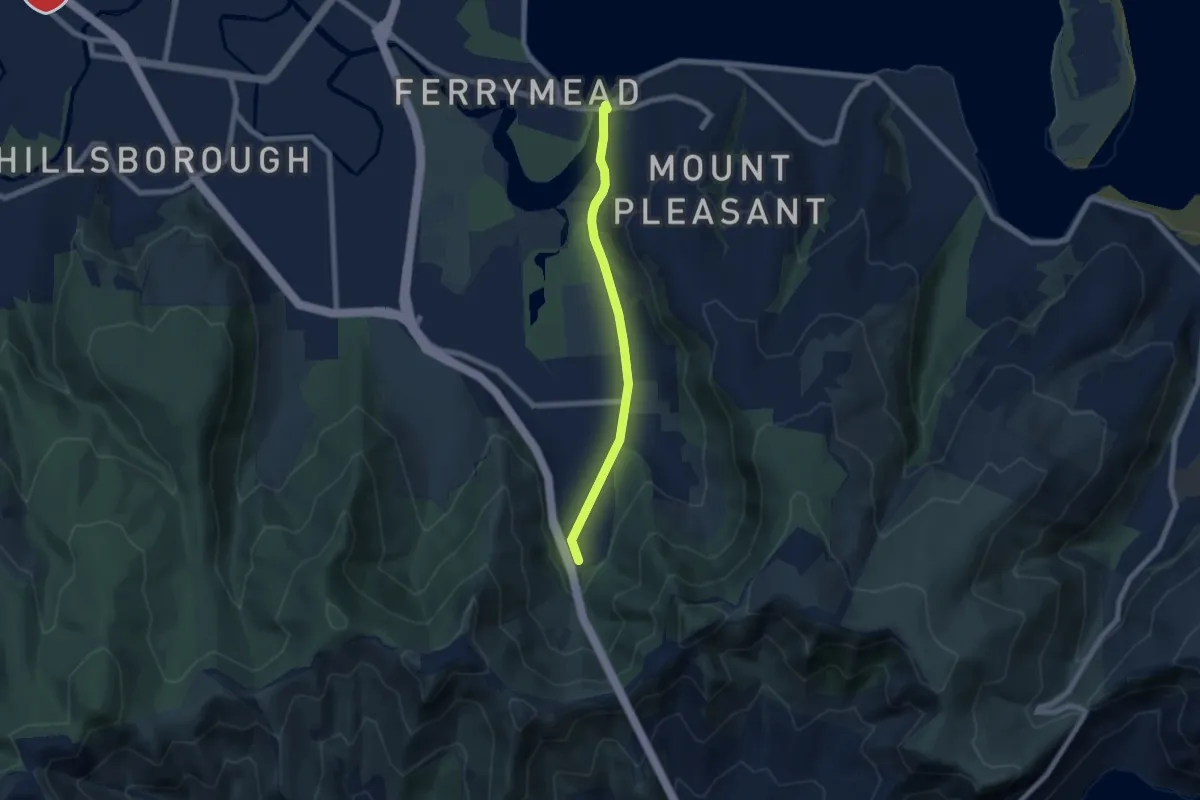
Easy · Trail
Bridle Path
6.4 km · ↑ 59 m · 1 h 38 min
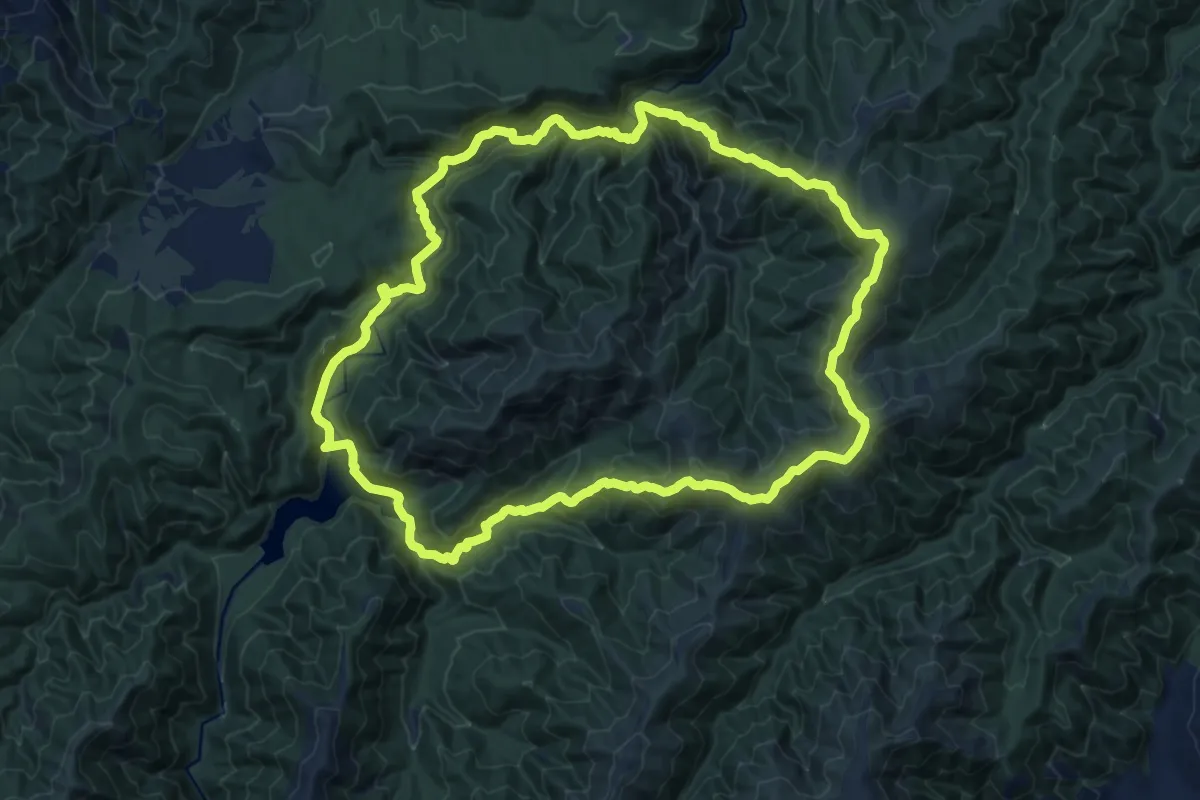
Demanding · Trail
Burn Hut Loop
16.5 km · ↑ 865 m · 6 h
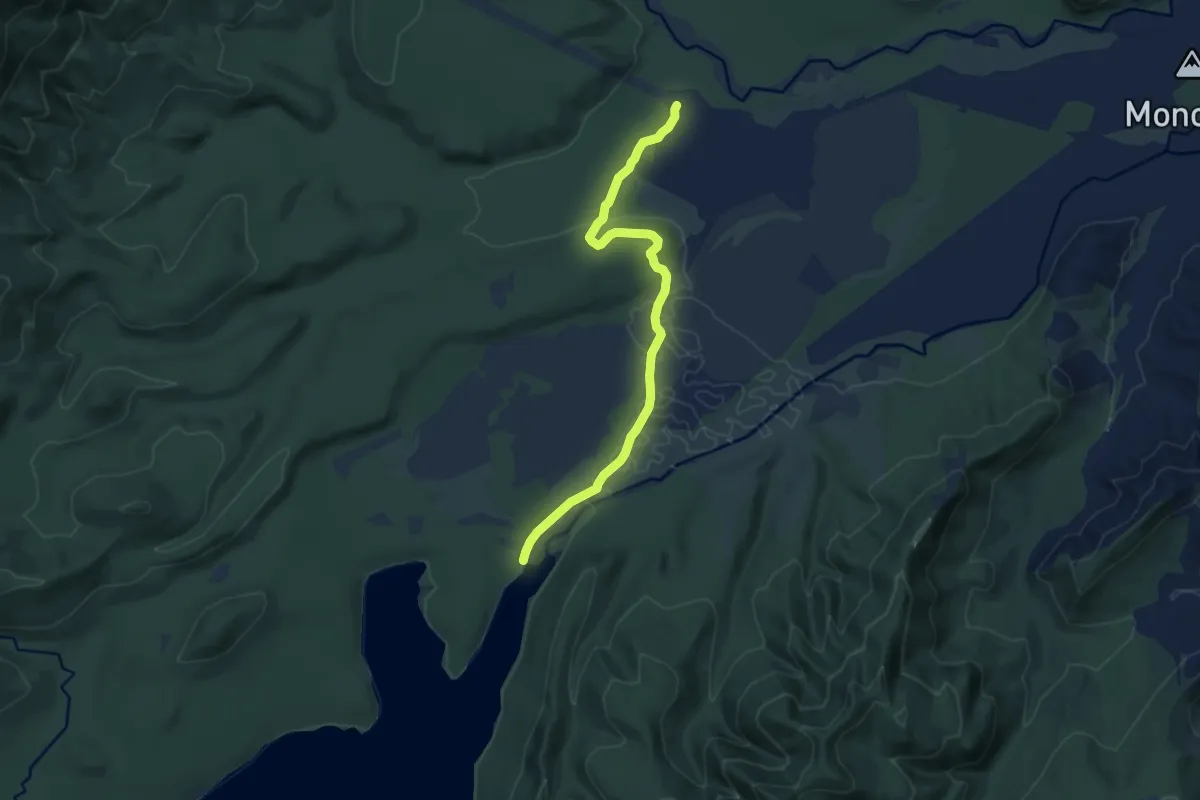
Medium · Trail
Burnt Ridge Track
10.7 km · ↑ 135 m · 2 h 50 min
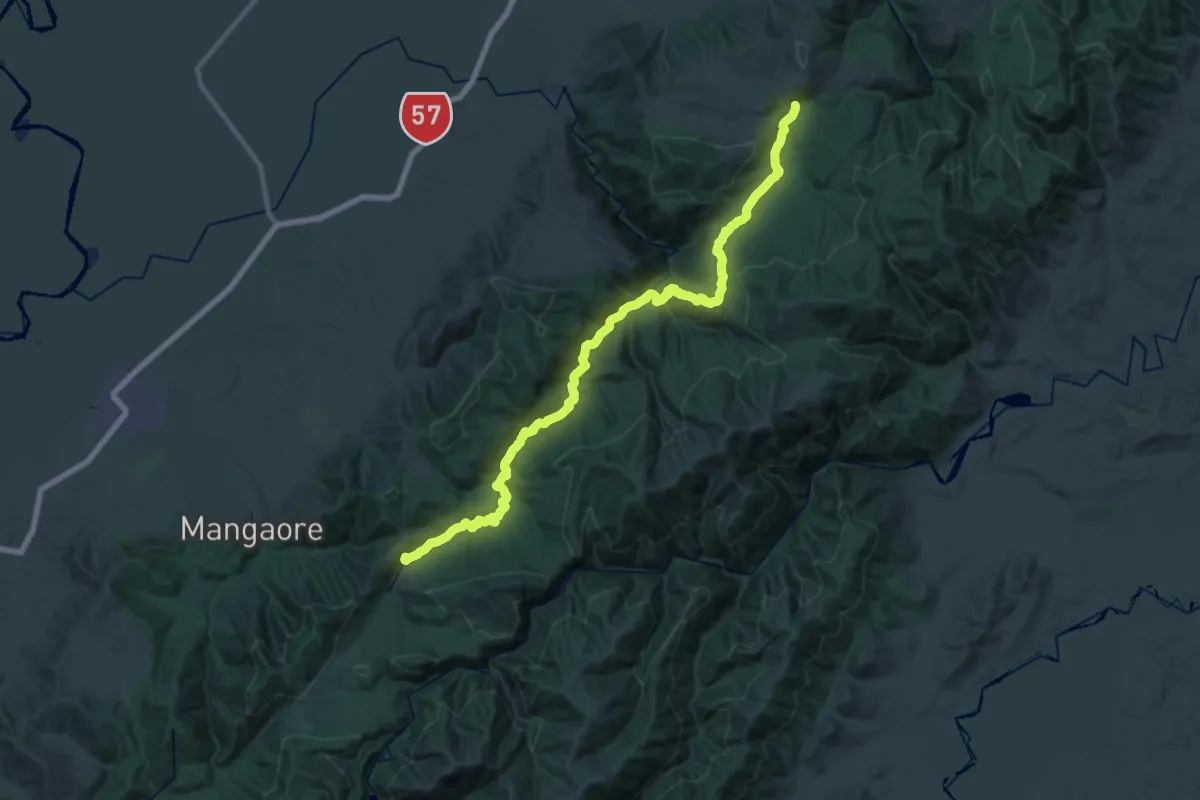
Medium · Trail
Burttons Track
17.3 km · ↑ 659 m · 5 h 45 min
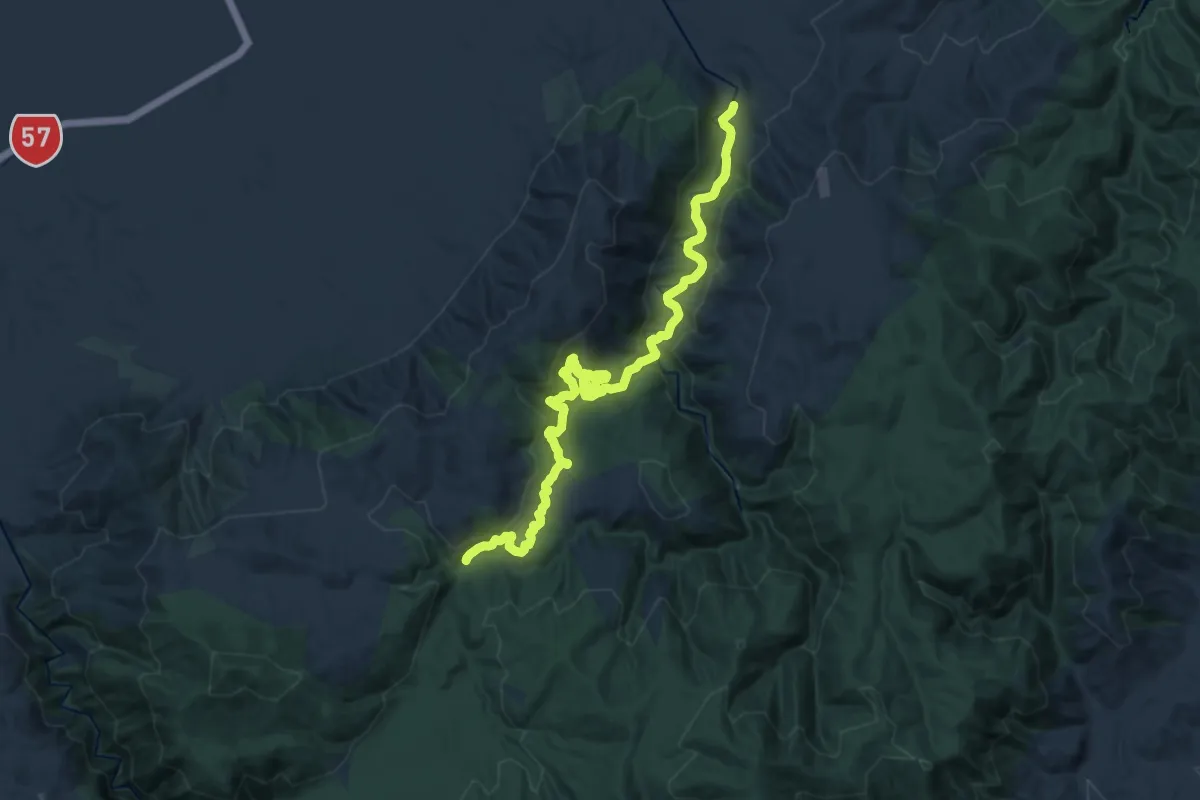
Demanding · Trail
Burttons Track access
19.7 km · ↑ 673 m · 6 h 6 min
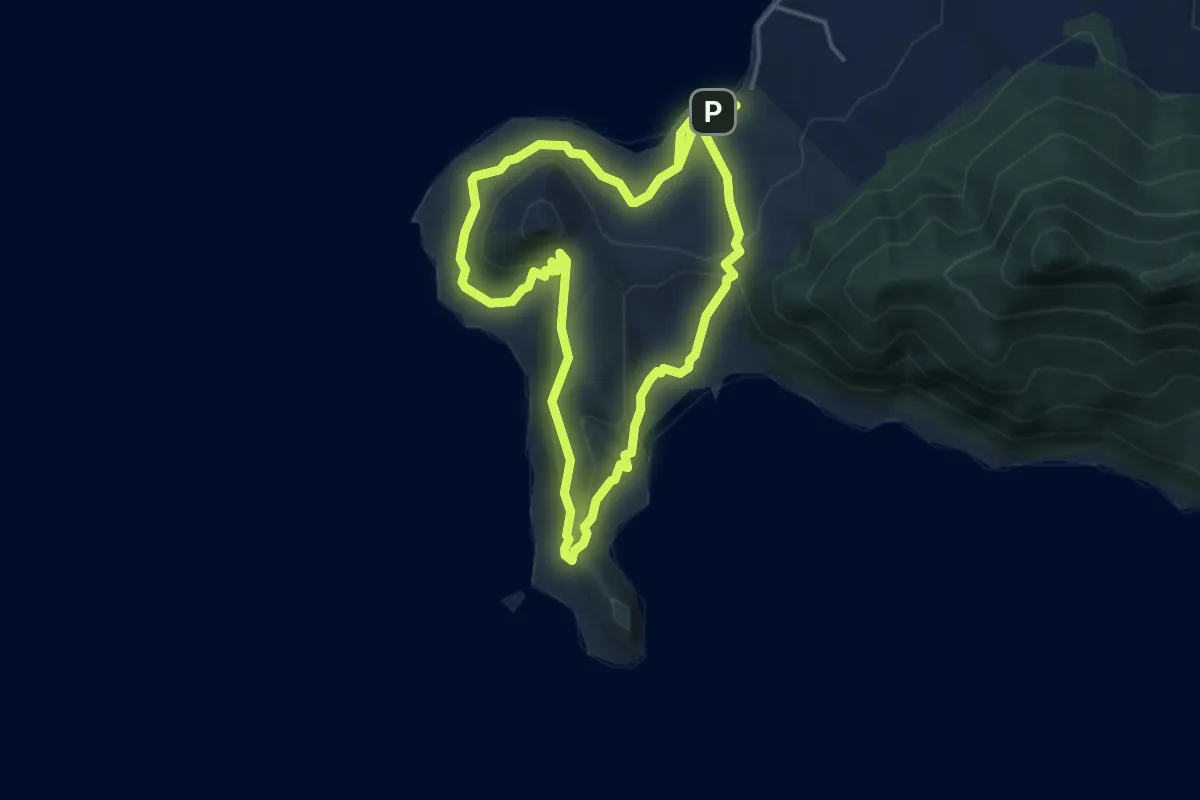
Medium · Trail
Busby Head Track
9.1 km · ↑ 320 m · 2 h 51 min
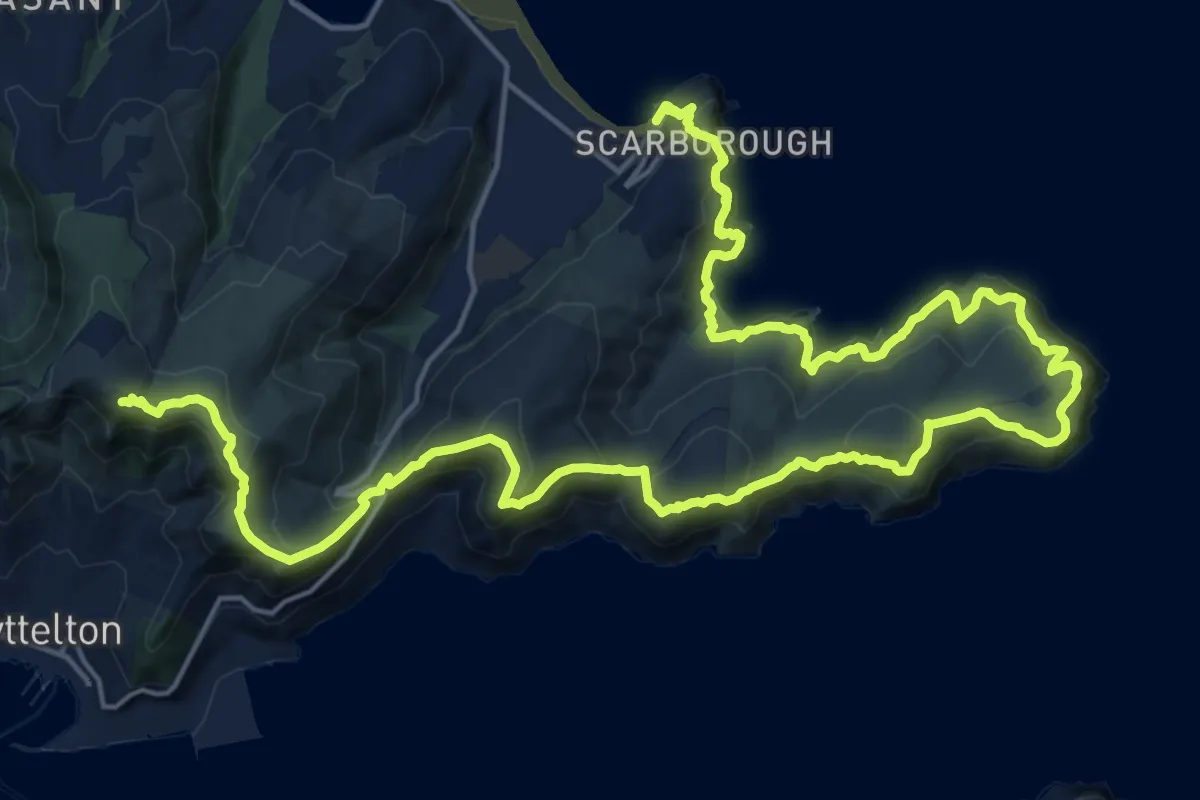
Demanding · Summit
C360a Godley Cliffs
32.0 km · ↑ 1658 m · 11 h 9 min
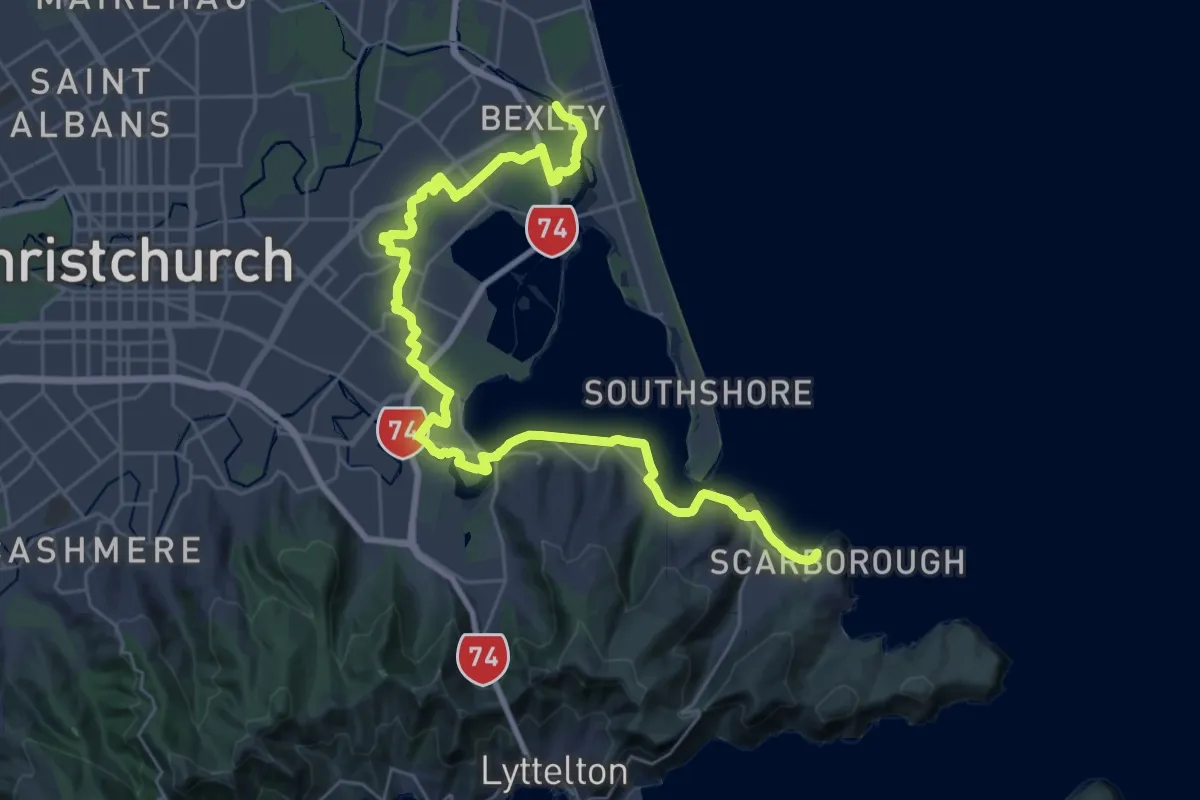
Demanding · Trail
C360b Estuary Marshes
19.3 km · ↑ 140 m · 5 h 7 min
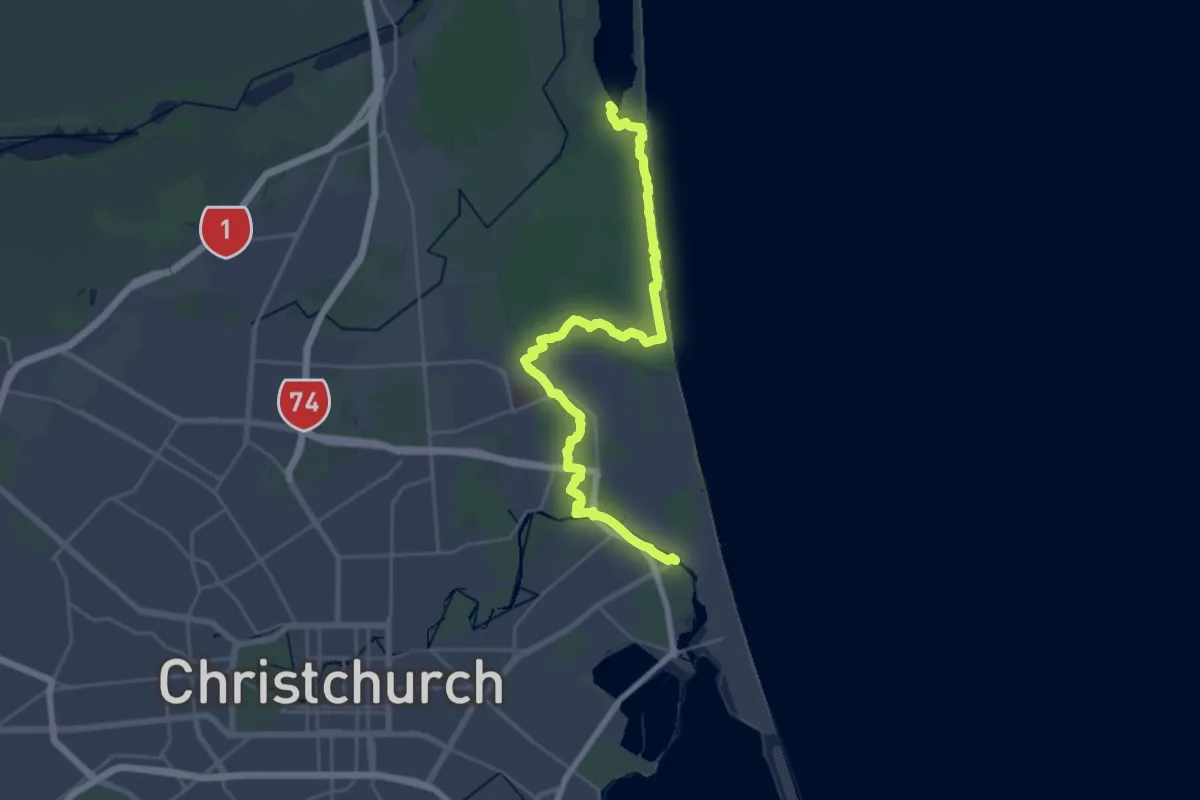
Demanding · Trail
C360c Dunes Wetlands
31.9 km · ↑ 0 m · 7 h 32 min
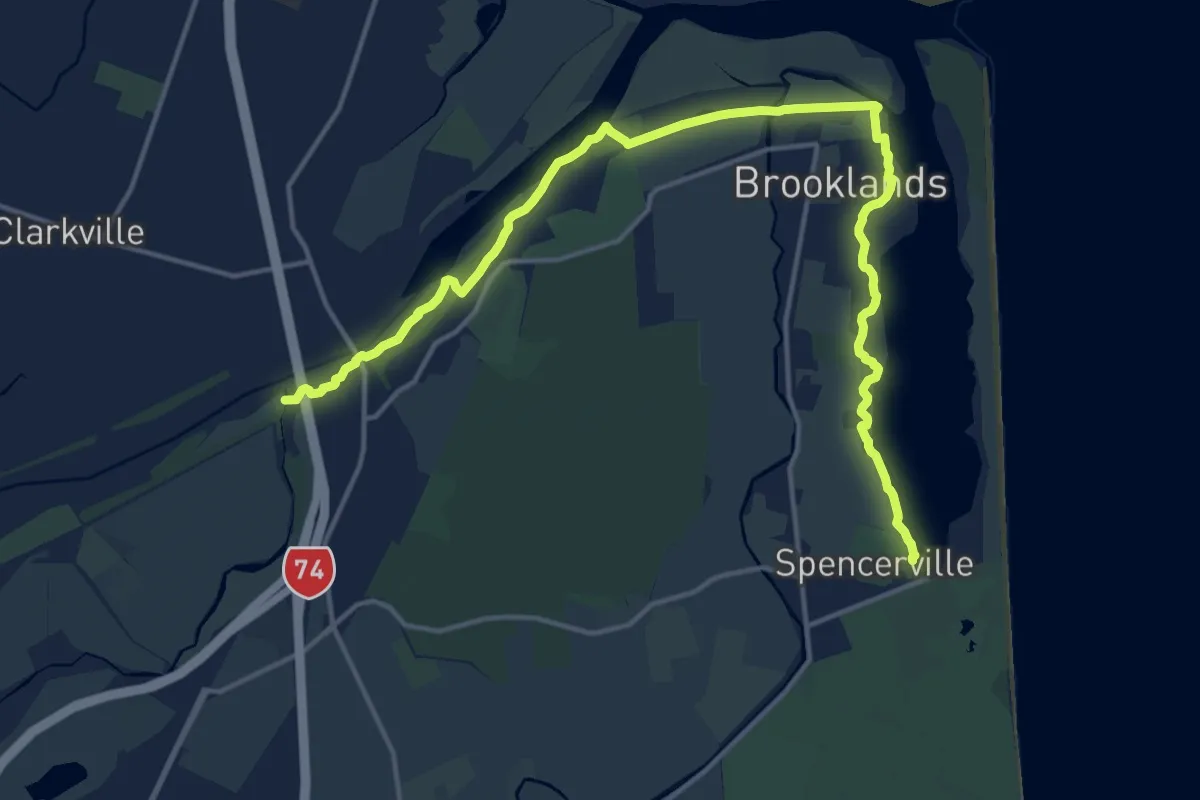
Demanding · Trail
C360d Brooklands Mouth
20.0 km · ↑ 4 m · 4 h 44 min